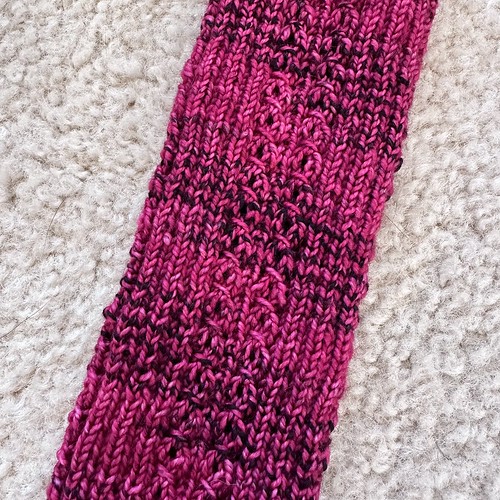
I have finally finished my Sammensat T. I started this back in December and it really should have been done much more quickly. The knitting itself is very easy, and once you're through the short row neck shaping and the yoke, it's just straight knitting. This is a perfect project for complex, hand dyed yarn (I'm seriously considering some hand spun for a second one of these), and it's also good for times when life gets more complex and all you can do is stockinette (which is why it took me so long to get it finished). This is definitely something that I will do again, whether in hand spun or commercial yarn.
The pattern photos show this as a short sleeved top, but the pattern includes directions for a long sleeved top as well. Obviously, I chose the long sleeves, hoping for a post-holiday pullover to wear in January and February before it got very warm. Naturally, this year we hit 80 degrees in February and I still wasn't finished with it. Fortunately, I'll wear pink year round.

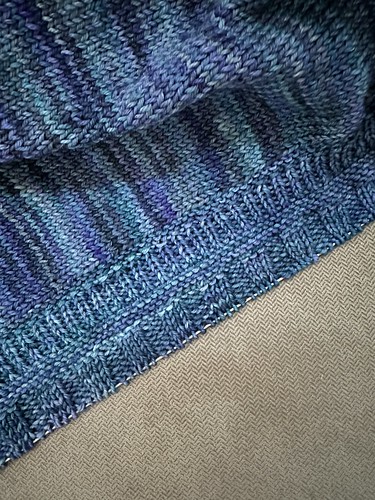
One of the things that I liked about the pattern was the minimal edgings. You start with a Chinese Waitress Cast On (above), and at the end of each section, you do a Chinese Waitress Bind Off (below). I didn't even know that Chinese Waitress Bind Off was a thing, but I really like how it looks (and I adore the cast on). I was a little concerned about my edges rolling, but I went down a couple of needle sizes for the last inch or so of knitting, and after steam blocking, everything is lying nicely. Different yarns, different fiber content, and different levels of twist could mean more issues with rolling at the edge. If I had had rolling issues, I had planned to work an i-cord bind off. It would have meant a more substantial edge, but it would have given a similar look. I used Malabrigo Arroyo in Rosalinda for this project.


In other big news, Obi had his first birthday late last week! He's now a dog! I don't know for sure how big he is now, but when he saw the vet at 11 months (ear infection, yeah early spring!), he was 80 pounds. When he went in January for a booster shot, he weighed 76 pounds, so while we've slowed down quite a bit (thank heavens!), he's still growing. At this point he probably has the majority of his full size, he'll just do some filling out over the next year. He stands taller than Logan did (Logan was 80-85 pounds) and conveniently (for Obi), he can easily rest his chin on our kitchen table. He's doing pretty well learning all the weird human things we've been teaching him, and Mr. Noodle has decided that he's old enough to be disciplined. When he was younger, Mr. Noodle would just walk away when he got fed up with Obi's puppy shenanigans. Now Mr. Noodle employs the paw of justice, and to really get the pup to pay attention, he bites. We're not sure if the kitty has actually made contact with his teeth, but seeing those teeth coming at him, Obi backs up quickly and shows Mr. Noodle some respect.
Labels: Newton, Pullovers, Shinobi