Photo bomb in 3...2...1...

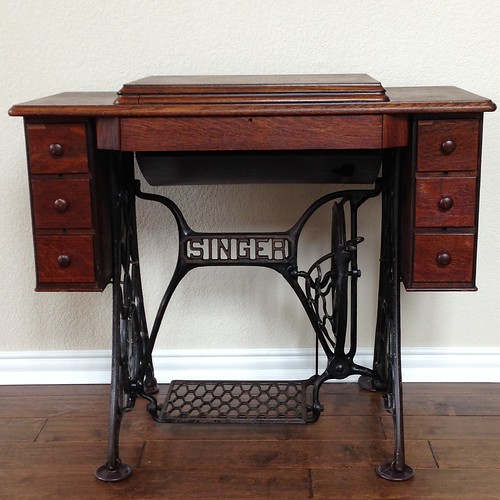
I've finished the cabinet for the treadle machine! I've gotten it all bolted back to the treadle irons and I've got before and after pictures! Above is the machine when I brought it home. You can see the center front drawer isn't hanging on its brackets right and while you can see a little bit of wood grain, it just looks dark brown. The top left drawer and the lower right drawer are both missing a little bit of veneer. Also, the underbelly (in the center behind the center front drawer) is lopsided because its missing a couple of screws on one of its brackets.
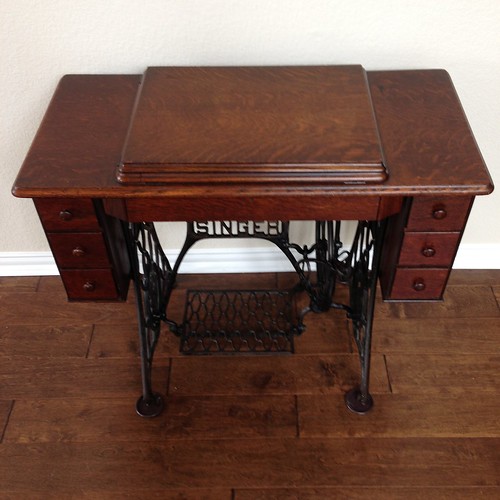
Here's what it looks like as of yesterday afternoon. (Max was asleep and wasn't available for photos, he apologizes for any inconvenience this might cause to blog readers.) The center front drawer is now mounted on its brackets and seated straight, the underbelly has replacement screws where it had some missing. I moved the lower right drawer up to the upper right placement because the missing veneer isn't as obvious right under the edge of the cabinet top. The biggest difference though is that you can see the wood grain on the cabinet. The wood just glows now - it's a rich, reddish brown versus a plain brown from before!
Here's another shot from the top. I hope you can see the difference in these pictures. The difference in person is huge. I just keep looking at it and staring at it.
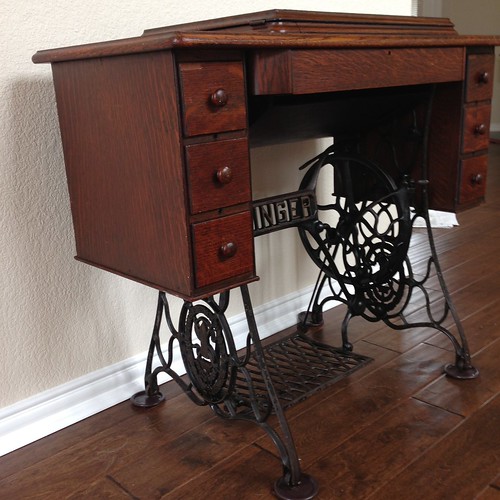
Here's the side. There are still some scratches and scuffs, but when you're 90 years old, you're entitled to some scratches and scuffs. The thing about the cabinet that flustered me the most was one of the drawers.
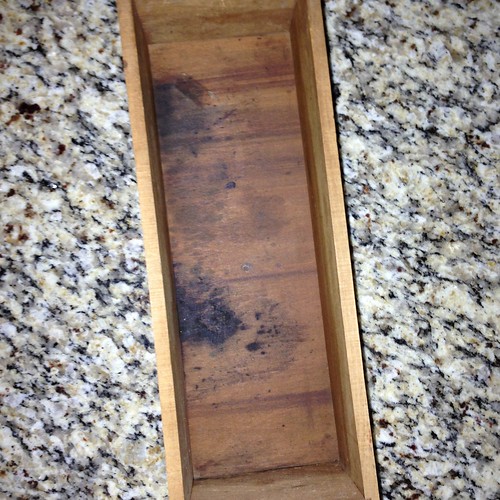
If you look carefully at the previous picture of the cabinet, you can see tiny key holes above each drawer and in the center front drawer. Because it was possible to lock these drawers, people put all kinds of things into their treadle cabinet that they didn't want their kids getting into. One of my drawers has a lot of dark staining inside. (The above picture was before I cleaned it all out and conditioned the wood.) Cleaning didn't really help very much and I was concerned about getting whatever it was on whatever I decide to put in the drawer (I think each drawer could easily hold 200-300 grams of sock yarn depending on how the skein is wound, just as a size reference, in case you were wondering). I kicked around several ideas in my head as I was cleaning the drawers and cabinet, but most of them would have been fairly permanent. (The stain goes all the way through the wood, so sanding it out wouldn't work.) I just couldn't decide what to do, until I thought of drawer liner papers! Instead of using paper though, I grabbed some acid free cardstock since the cardstock wouldn't slide around in the drawer. It covered up the stain nicely, it isn't permanent, it shouldn't cause any damage and I can change it if I get bored of the colors I used. I put the cardstock in all of the drawers, so now when I open them, I get a little pop of color - three colors to be exact!
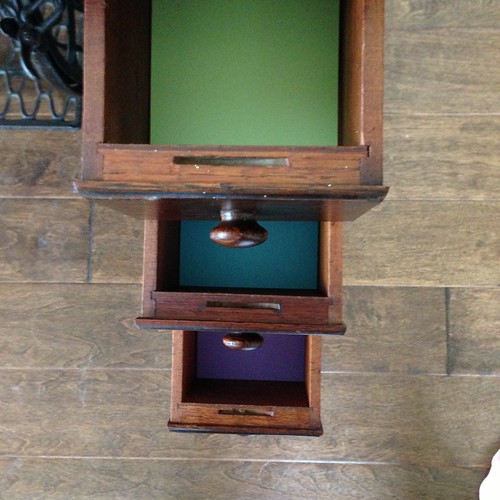
Lime, turquoise, and violet (the colors are dark in the photo). It makes me smile when I open the drawers, and now they are ready for the little sewing tools and feet that I'll store in them!
Now I get to start cleaning up the machine head, and I can't wait to get it done so I can sew on it!
Have a great weekend!
Labels: treadle sewing machine


7 Comments:
It looks just like the one my babysitter used to make dresses for me.
It is just lovely!
You have done a beautiful job with that cabinet!
The cabinet is absolutely beautiful. The result is well worth all the hard work you put into it, and it can only be improved by some golden spit - lovingly applied, of course.
It looks great! Thanks to you, I went and picked up an old machine as well - it had been on my list forever but I was intimidated by the rehab process; seeing someone else tackle this gave me hope that I can do it too. I got a 1938 White Rotary w/ knee pedal (electric), and will be starting her clean up this weekend.
Thanks for showing us the progress - you have done marvelous work!
Now one can only wonder what Max will make of the treadle in action!
Great job!
I am so impressed. You're doing a beautiful job! The acid-free paper is a great idea, and the punch of color would make me smile, too : )
Mady
Post a Comment
<< Home