Something Different (But Not New)
Almost one year ago (three weeks short of one year, to be exact) I made this bag. I had stumbled across the free tutorial online and thought it would make a nice bag and a nice test project for Ruby Mae (my treadle machine). Well, it worked great for both purposes and I got to know my new old machine and I got a great bag. The bag works really well, and even though it doesn’t have any top closure (one could be added easily enough), it still feels pretty secure because as it curves around my body as I wear it, it closes itself. It’s also a nice size for a project or two, or a few magazines or whatever.
Yesterday I made two more bags from the same pattern! The original plan was to sew them at the same time, assembly line style, but then I realized that I needed different colors of thread for the two bags. (Sometimes I might need more caffeine than I actually get.) Once I figured that out, I got them sewn up pretty quickly. I didn’t use Ruby Mae this time, I used one of my Pfaffs because I wanted the ability to back tack to secure a seam. On the bag I made on Ruby Mae, I just knotted off the ends by hand.
Once again, I added a pocket (cut 8.5 inches square, sewn with 1/4 inch seam allowances) and interfaced the main fabric for stability. I took my time turning the bags this time and despite the interfacing and pocket, they were easier to turn than last time. I must have let the bag get all bunched up last time. The only other change I made was to topstitch along the edge of the entire bag after turning and pressing. I’m not sure that this adds any structural benefits, but I like the way it looks. The pattern is easy and straightforward to make and sewing, from start to final pressing took just under an 1.5 hours for each bag.
Want to see them?
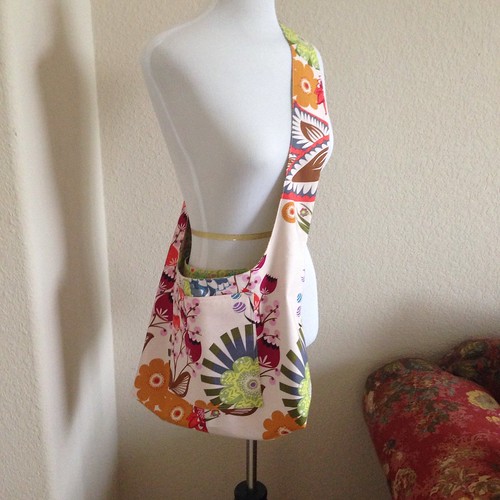
The first one is a fun, large floral print which I thought would be really cute for just about any outfit. (I got the fabrics from MadTosh Crafts last week.) You can see the pocket on the side as Fifi models it for us. I positioned the pocket 1.25 inches down from the raw edge of the top of the bag (if you’re interested in adding a pocket and wondering where to put it). The pocket is nice and big, and deep enough that my iPhone feels safe in it.
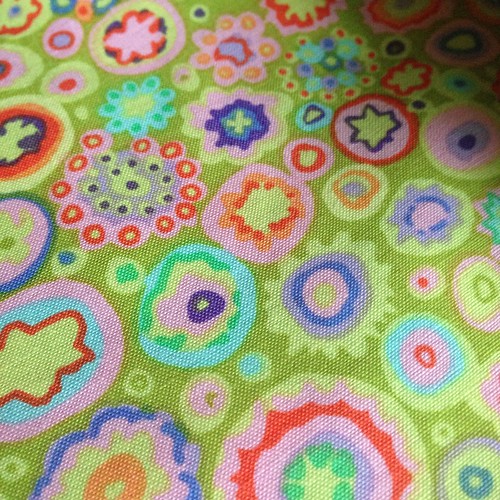
I lined the bag and pocket in a lime green multi colored print that picked up the colors of the floral.
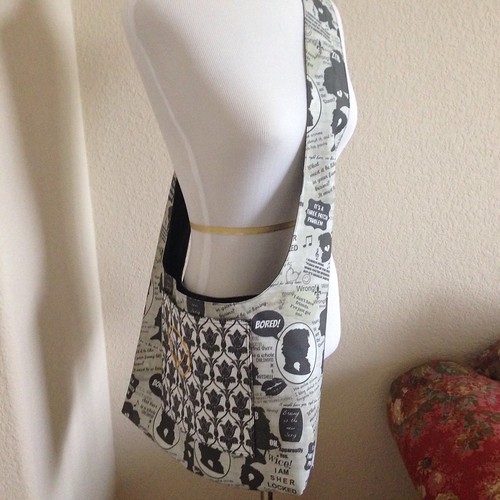
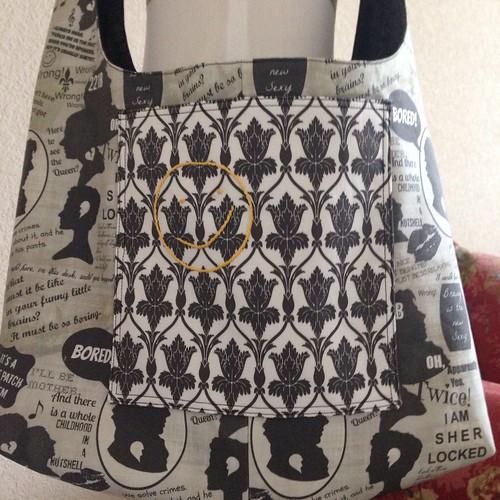
The second bag is a little different. I got this fabric from Spoonflower. If you’ve never heard of Spoonflower, I’ll tell you a little about it. You can design your own fabric and have it printed or you can pick out designs other people have done and have them printed. They have about a dozen different fabric bases they’ll print on, from polyester knits, to silk crepe de chine, to heavy canvas. I had my choices printed on Kona Cotton. It takes about 2 weeks to get your fabric after you order because they print on demand for each order. If you order one yard, they print one yard. If you order 10 yards, they’ll print that. It’s a very fun way to get fabric. Here’s my second bag.
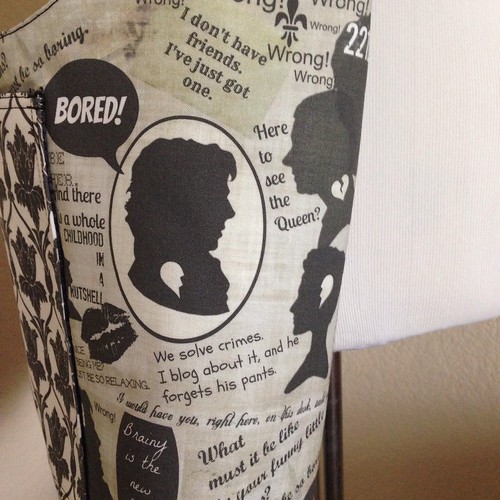
The main exterior fabric is Sherlocked. I loved the quotes from the first two seasons of the BBC Sherlock. Here is a closeup of the fabric.
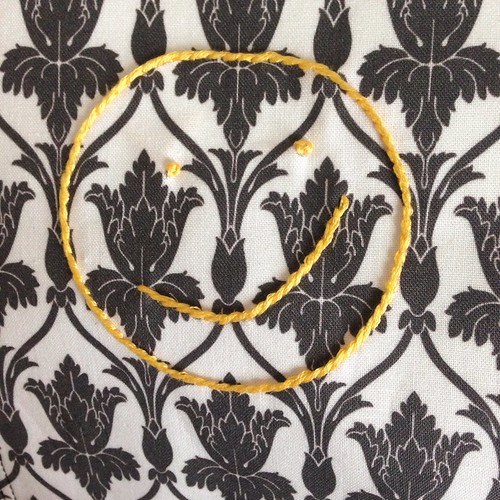
The pocket fabric is Sherlock Wallpaper Fabric. I had to add the smiley face of course, but chose to skip the bullet holes.
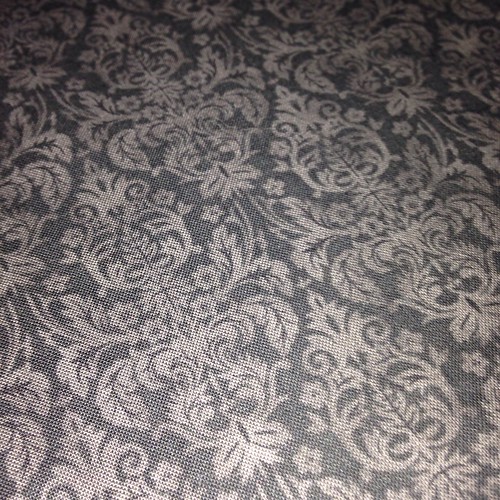
The lining of this bag and pocket is some fabric I picked up at Hobby Lobby that coordinated with the other two prints.
I doubt this is the last time I’ll sew this pattern. It’s a great pattern and a cute finished bag! Anyone else have a favorite bag pattern they’d like to share?




2 Comments:
I love them both! Wow, now I may have to make one of those (or several depending on what kinds of fabric I have lying around.)
These are fantastic! I especially like the Sherlock fabric...how cool!
Post a Comment
<< Home