Finally Finished

This past spring I finished the knitting on my Balete Cardigan, but I hadn't done all the finishing for it. I still needed to sew buttonholes into the reinforcement ribbons and add the buttons. Since I was currently sewing my navy blue skirt, the sewing machine was threaded with navy. I decided to just finish sewing the skirt before changing the thread to black since I wasn't going to be wearing the cardigan anytime soon.
Now that I have finished the skirt, I took the time to finish the cardigan. I had made buttonholes in the front, right bands as I knit them, so I measured carefully to figure out where to put them on the ribbon. Since machine made buttonholes and knit buttonholes are different shapes*, I decided to line up the tops of the buttonholes together, knowing the stretch of the knitting would accommodate the machine sewn buttonhole. After testing that the button would in fact go through both buttonholes, I was off and sewing.
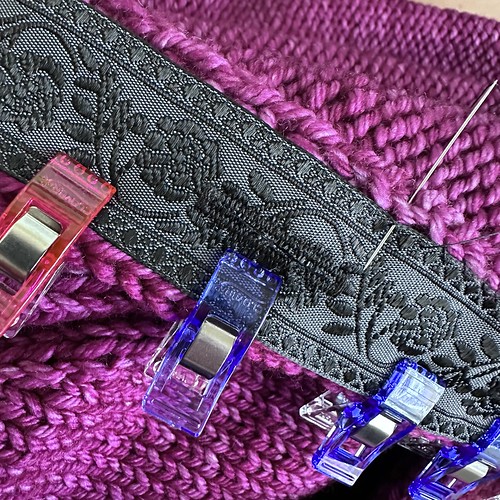
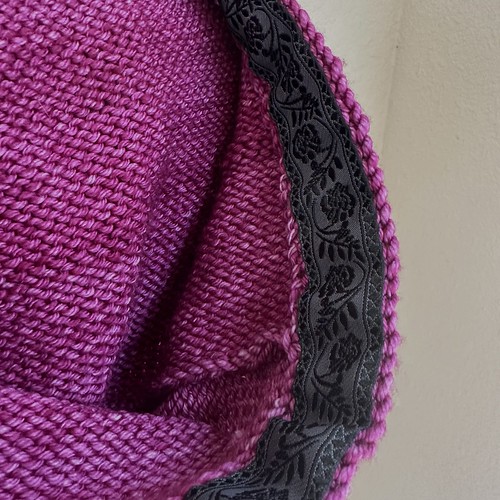
The next step was to sew the ribbon to the front bands. If this were an ordinary cardigan, I would have used two ribbons, one for each front. The hood made this a little more complicated and I chose to use one ribbon, up one front, across the hood, and down the other front. (The other option would be to skip the hood edge and just reinforce the two fronts, but I wanted the ribbon to peek out a bit on the hood.) I used my clips to get the two layers of buttonholes lined up, and then clipped the ribbon the rest of the way around, making sure the two fronts were the same length, and keeping the hood smooth, but not stretched. I began sewing on the inside (unclipped) side of the ribbon, just a simple whip stitch between the chain of picked up stitches and the narrow braided edge of the ribbon itself. Once that was done, I stitched down the clipped side, removing clips as I went.
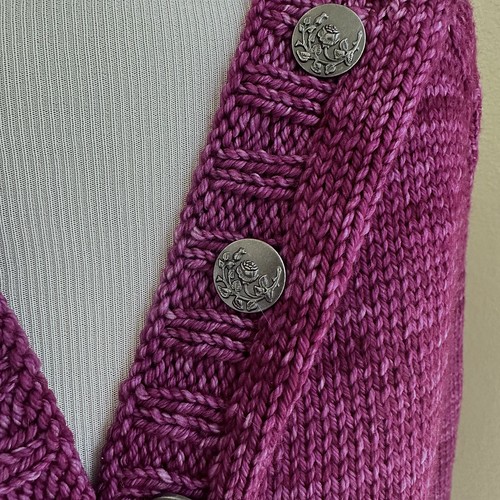
The last step was to sew the buttons on the left front band, lining them up with the buttonholes. Once the whole thing got one more steaming, it was done! I really love the extra stability adding a facing adds to the front of a cardigan, and the ribbon adds a little bit of interest. Now it's all ready for cooler weather. Not today though, today we're supposed to be between 106 and 110 (that's actual temperature, not heat index). This summer is brutal!
*The other option is to not knit the buttonholes into the front bands, sew the reinforcement ribbon into the cardigan, and then machine sew the buttonholes through both the knitting and the ribbon at the same time. This is how a lot of commercial cardigans are made. I'm pretty sure you'd want some sort of stabilizer, but I've never done it this way. The main reason is because if things go sideways, you're not just trimming off the end of the ribbon and starting over. If this were to go wrong, you'd have to remove and reknit the front band and start over from there. I'd rather just trim some ribbon.
Labels: Cardigans
posted by Melanie at 7:23 AM
![]()


0 Comments:
Post a Comment
<< Home