…I think this one would work! This is my drawstring bag project for Loopy Academy’s sewing version. I started with the
String Style Backpack pattern from
Sew4Home.com. If you’ve never checked them out, they’ve got tons of free patterns for all kinds of things, as well as tutorials for specific techniques - they’re worth a look.
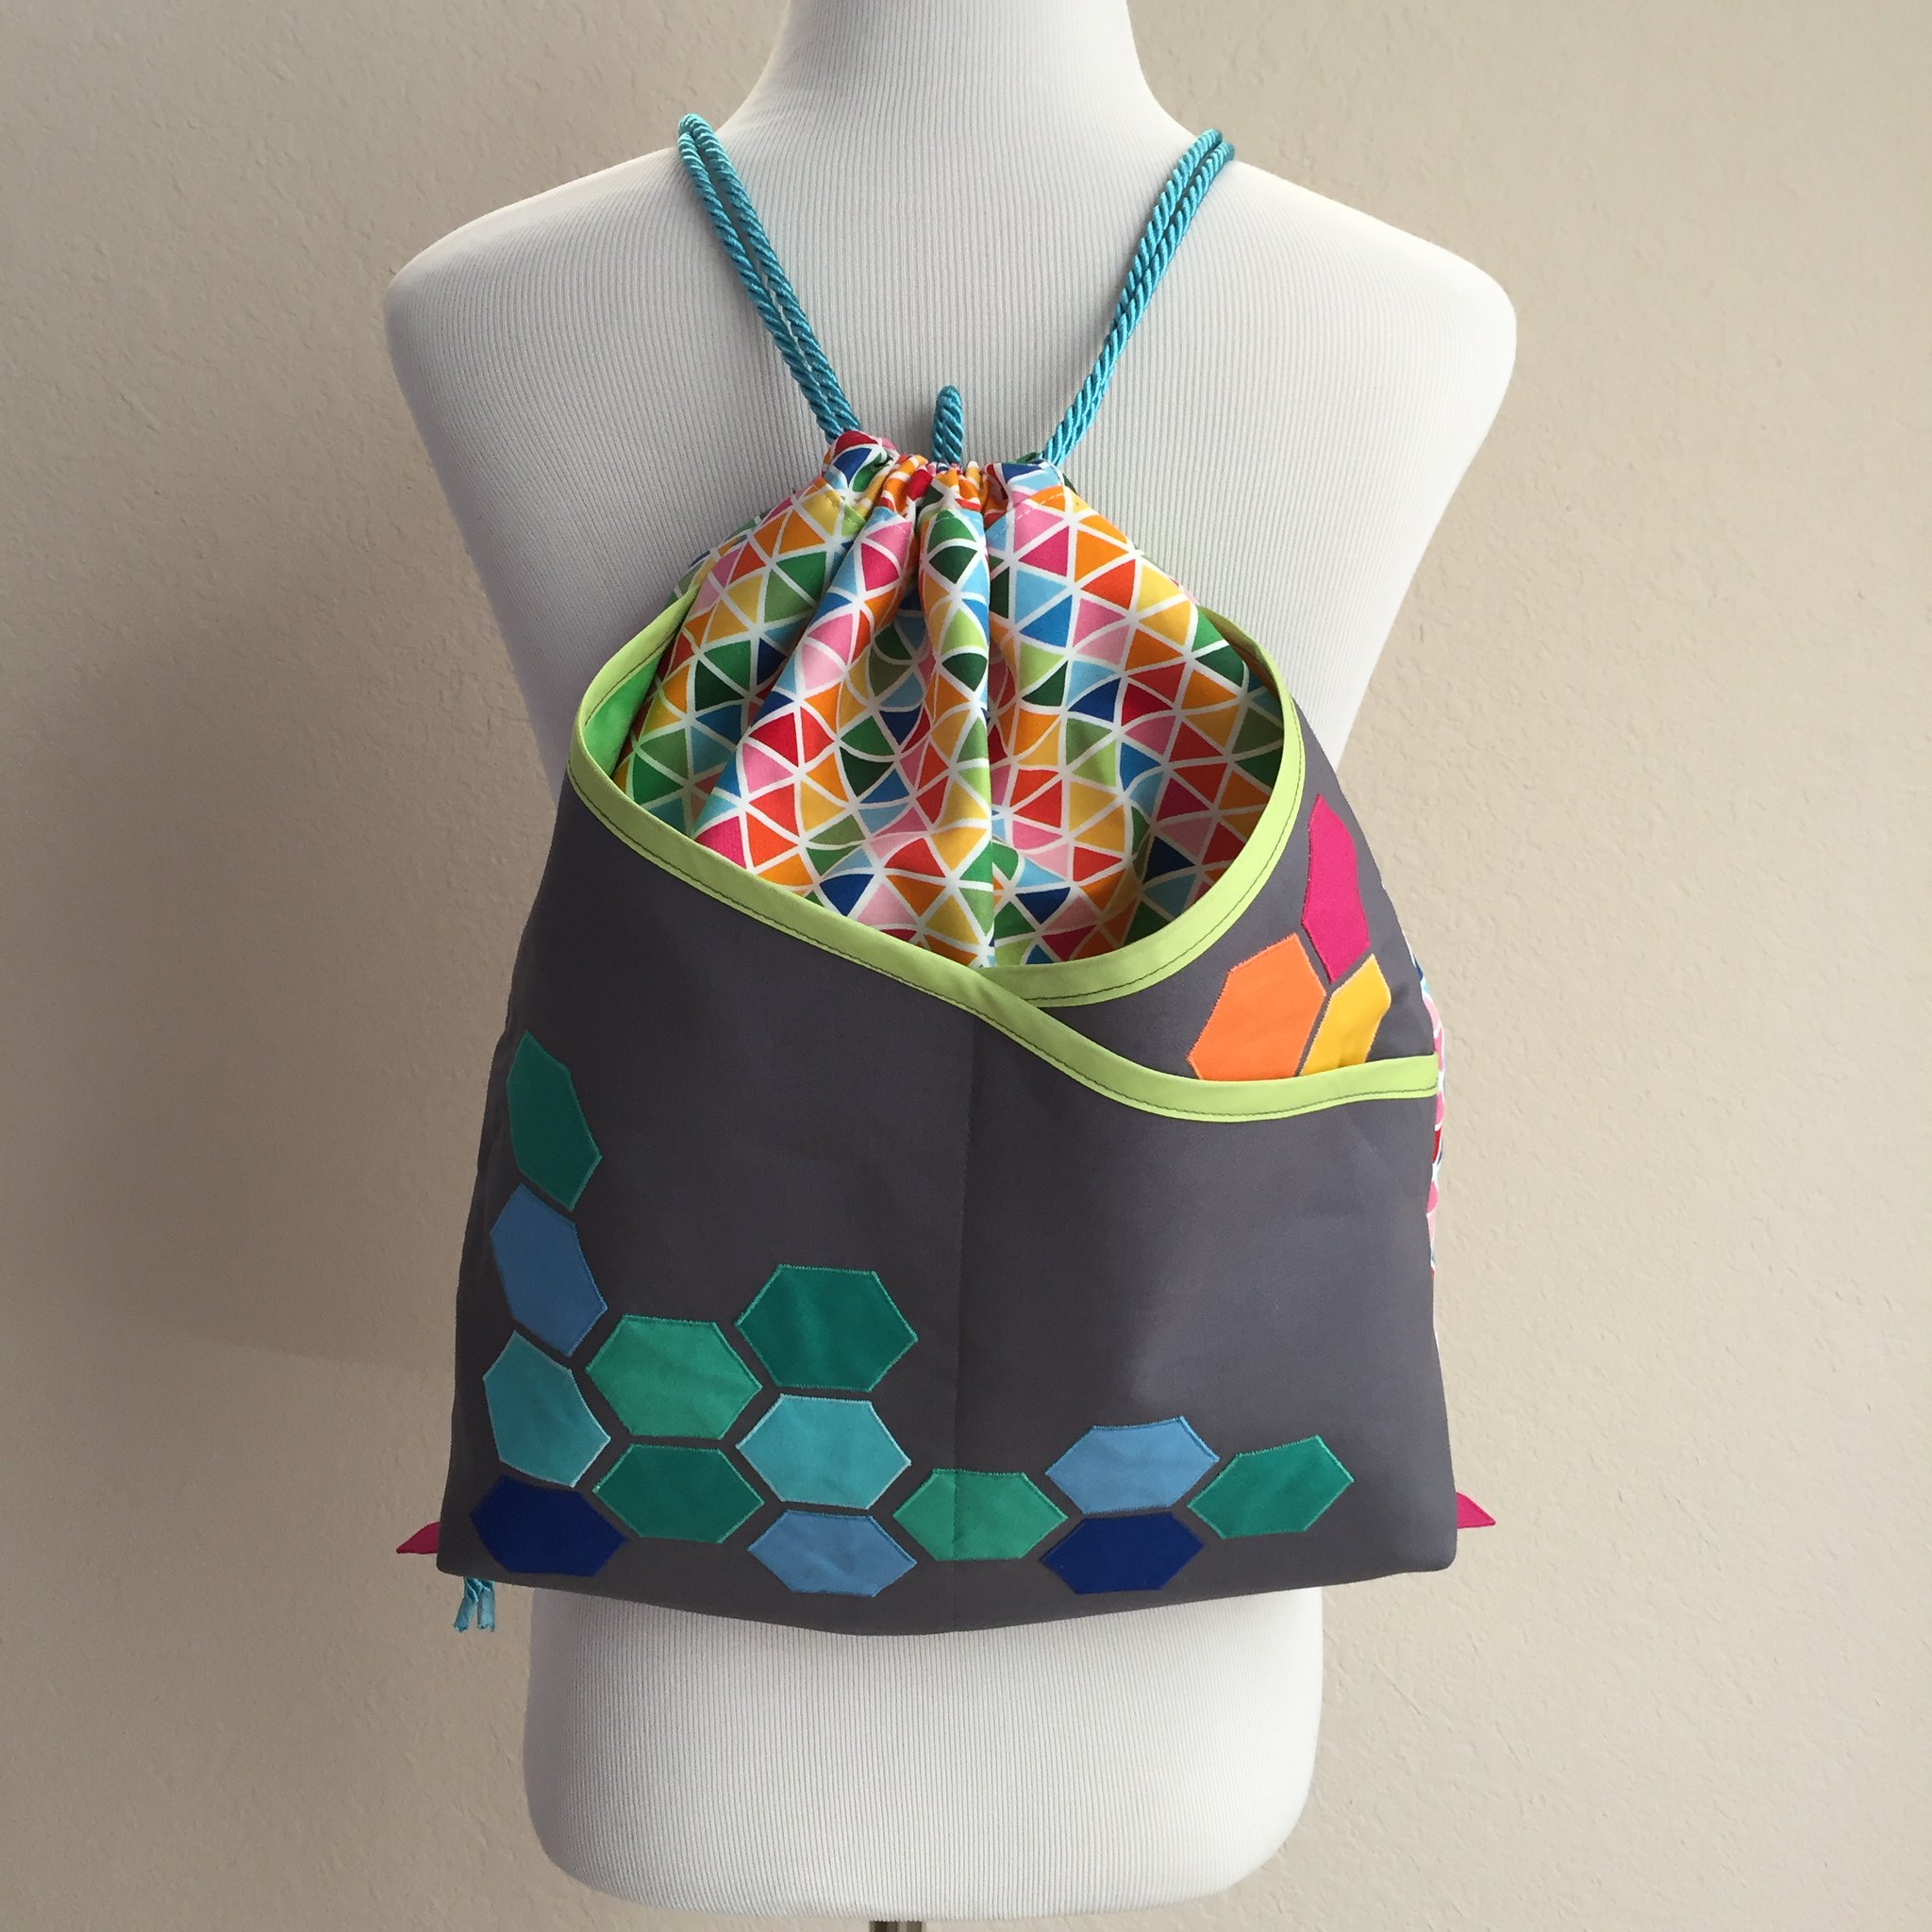
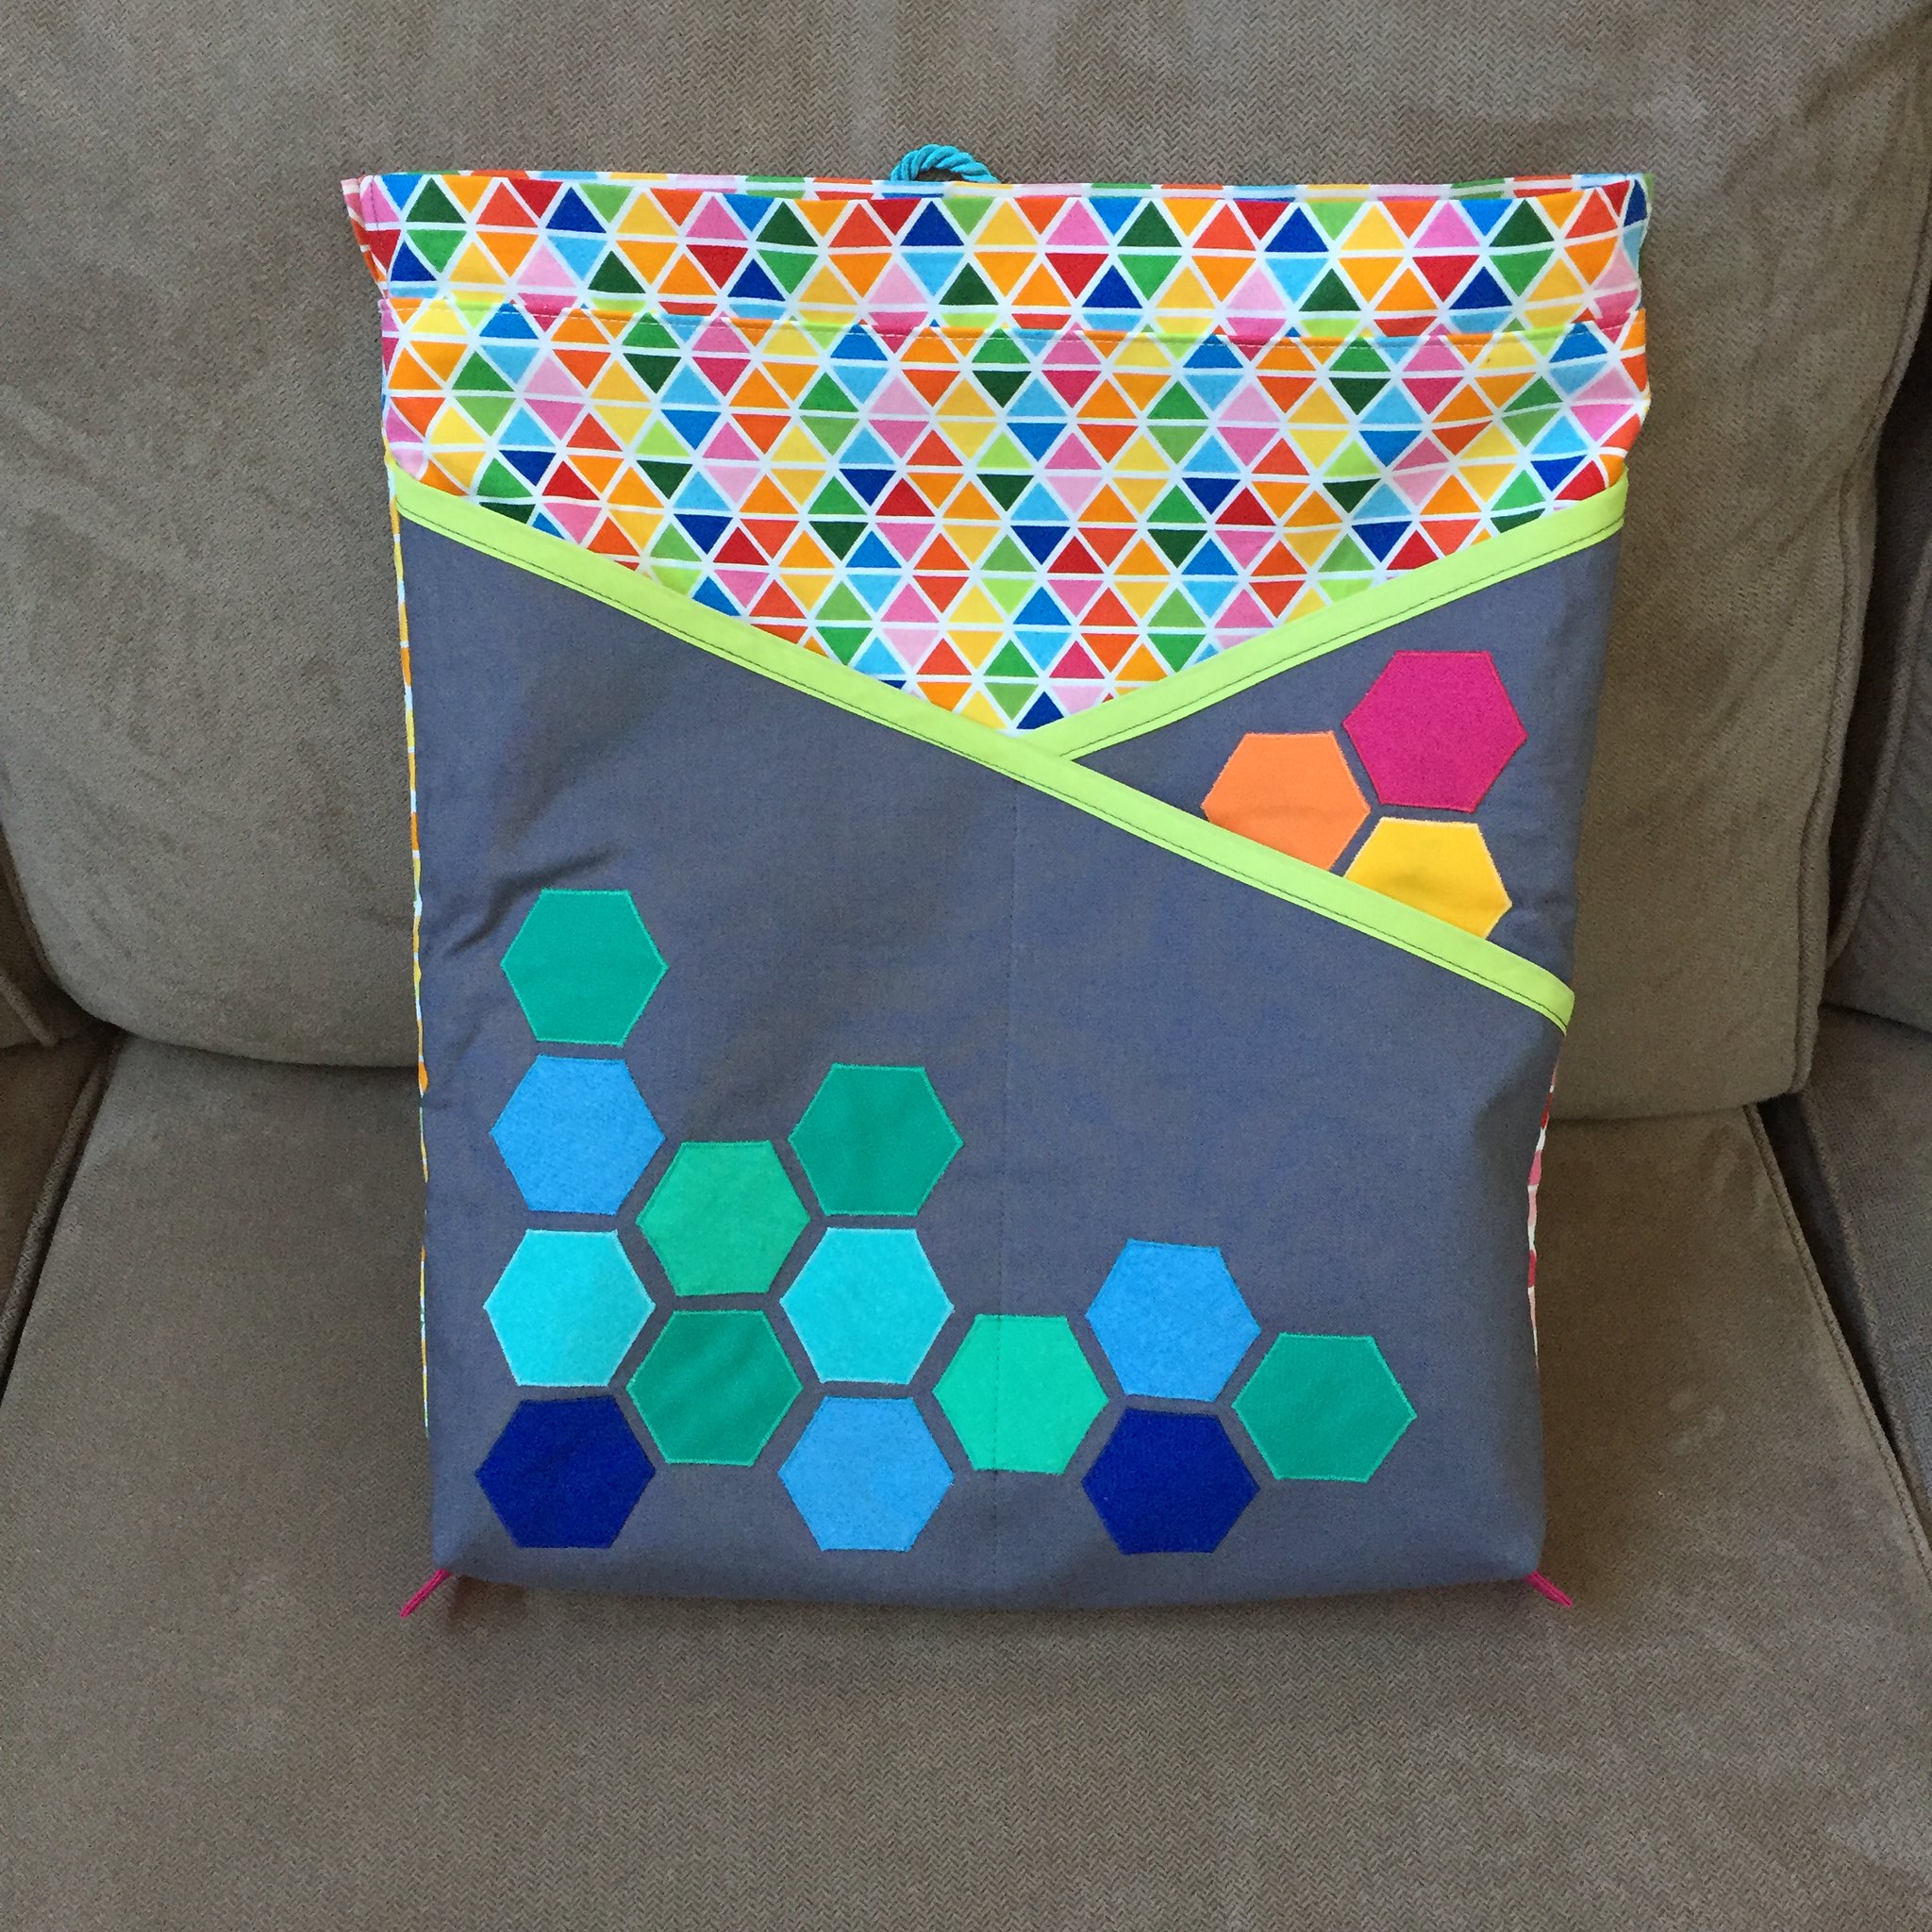
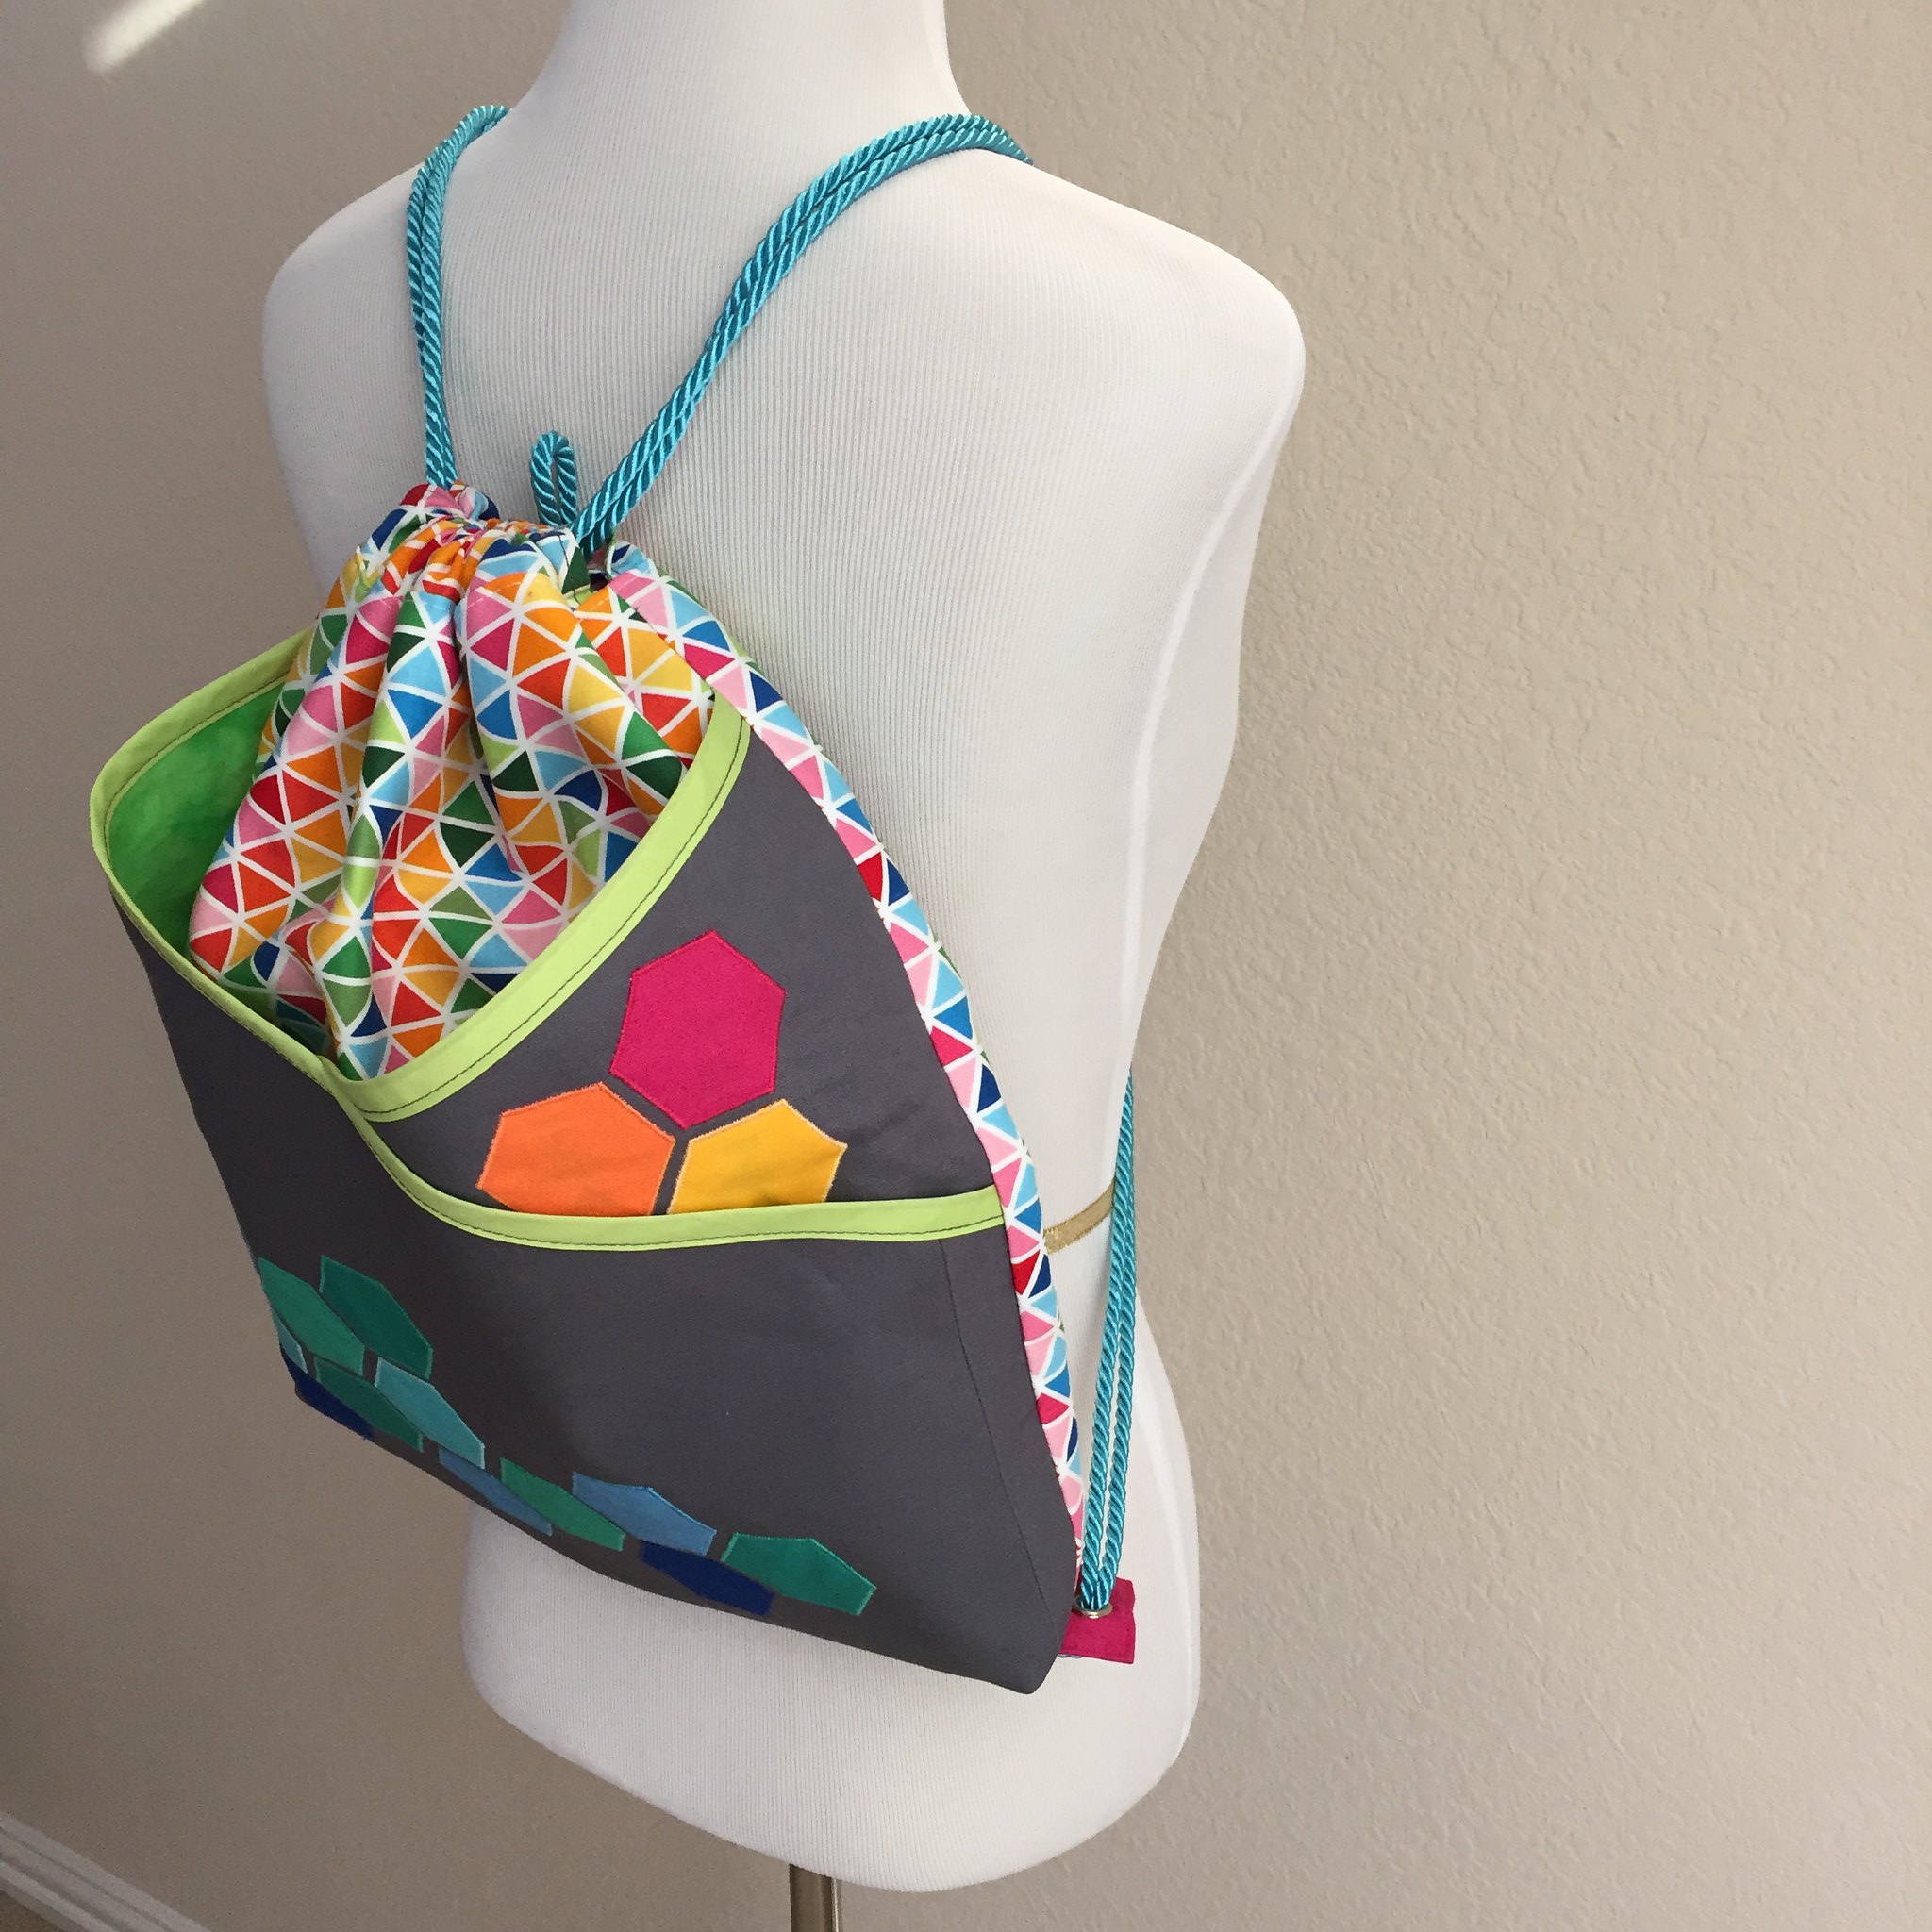
Being Melanie, I did make a few changes to the original pattern. I wanted a larger bag than the original and I wanted to box the lower corners. I added two inches to the length AND width of the Exterior, Lining, and Pocket pieces, and I added two inches to the width only of the Casing pieces. This gave me a slightly larger bag, with room to box the lower corners by two inches. Boxing the corners meant I had to figure out another way to attach the lower strings. I solved that problem by making small tabs with grommets and inserting them into the seam when I boxed the corners!
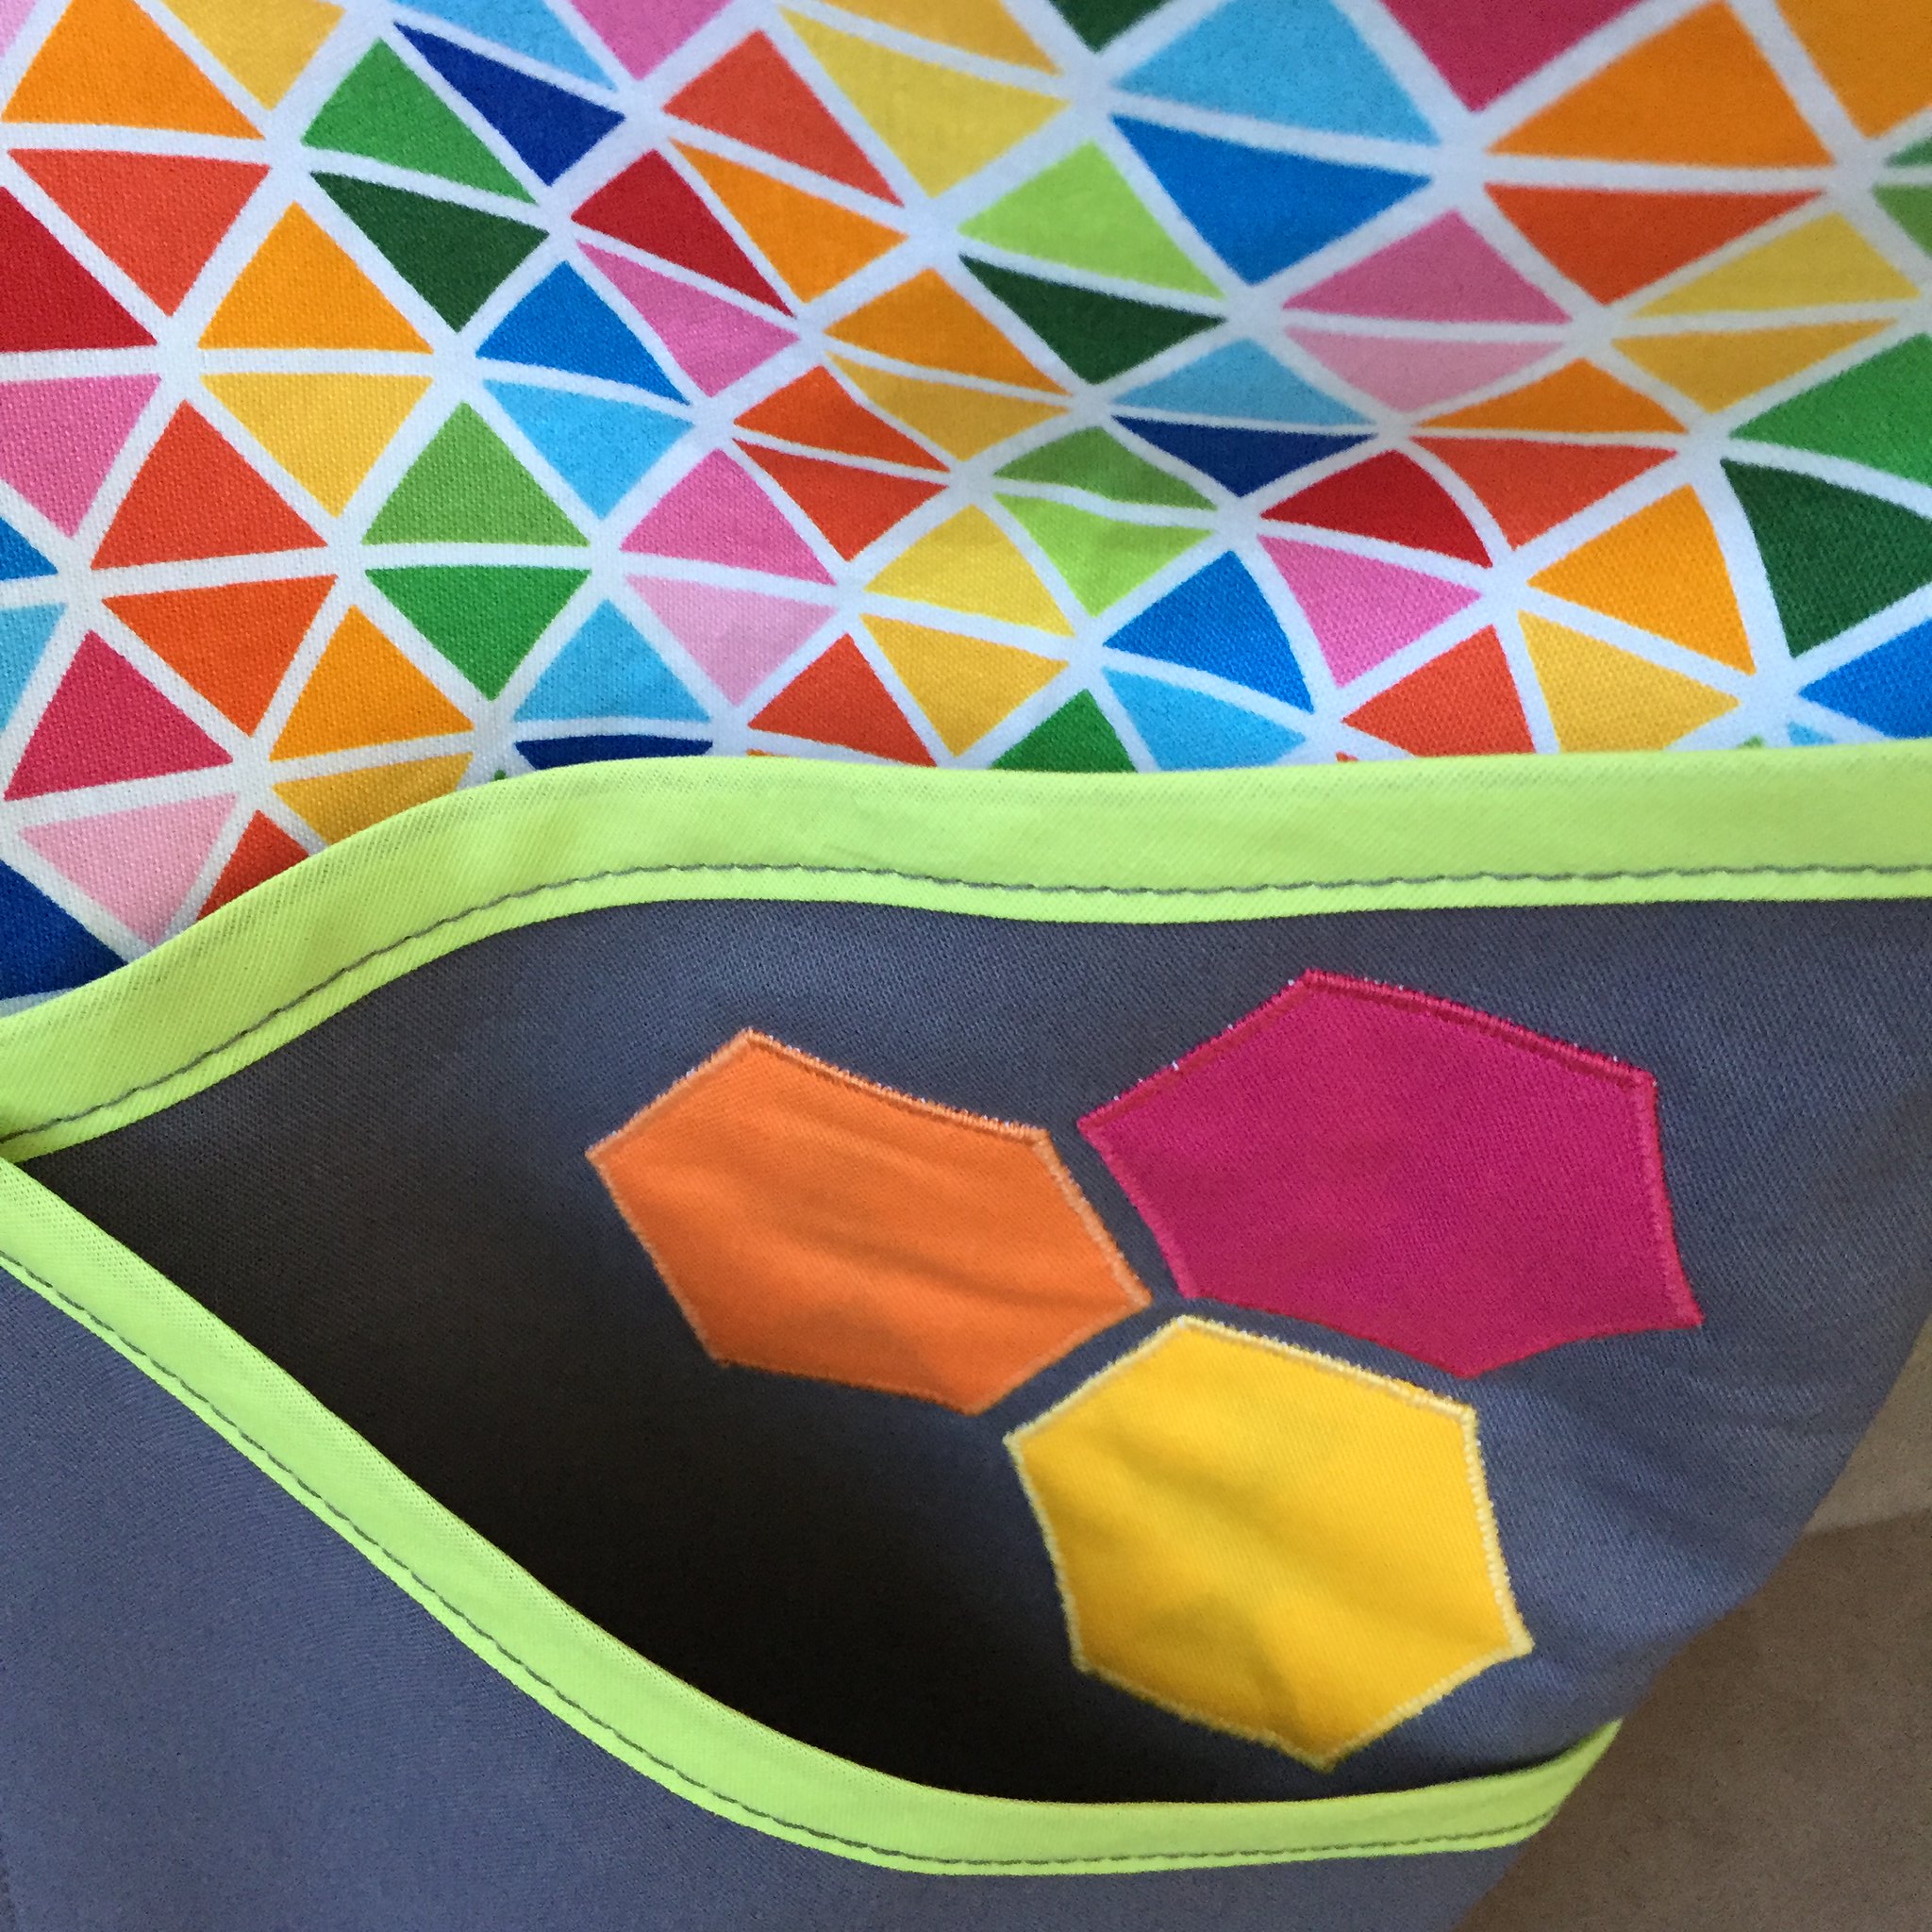
Obviously I added some appliqués to the front pockets, but I also decided to skip the fusible fleece and just used interfacing for the entire bag. (The photo below was taken before I threaded the drawstring through, but you can see the locker loop peeking out at the top. Do unicorns have lockers?)
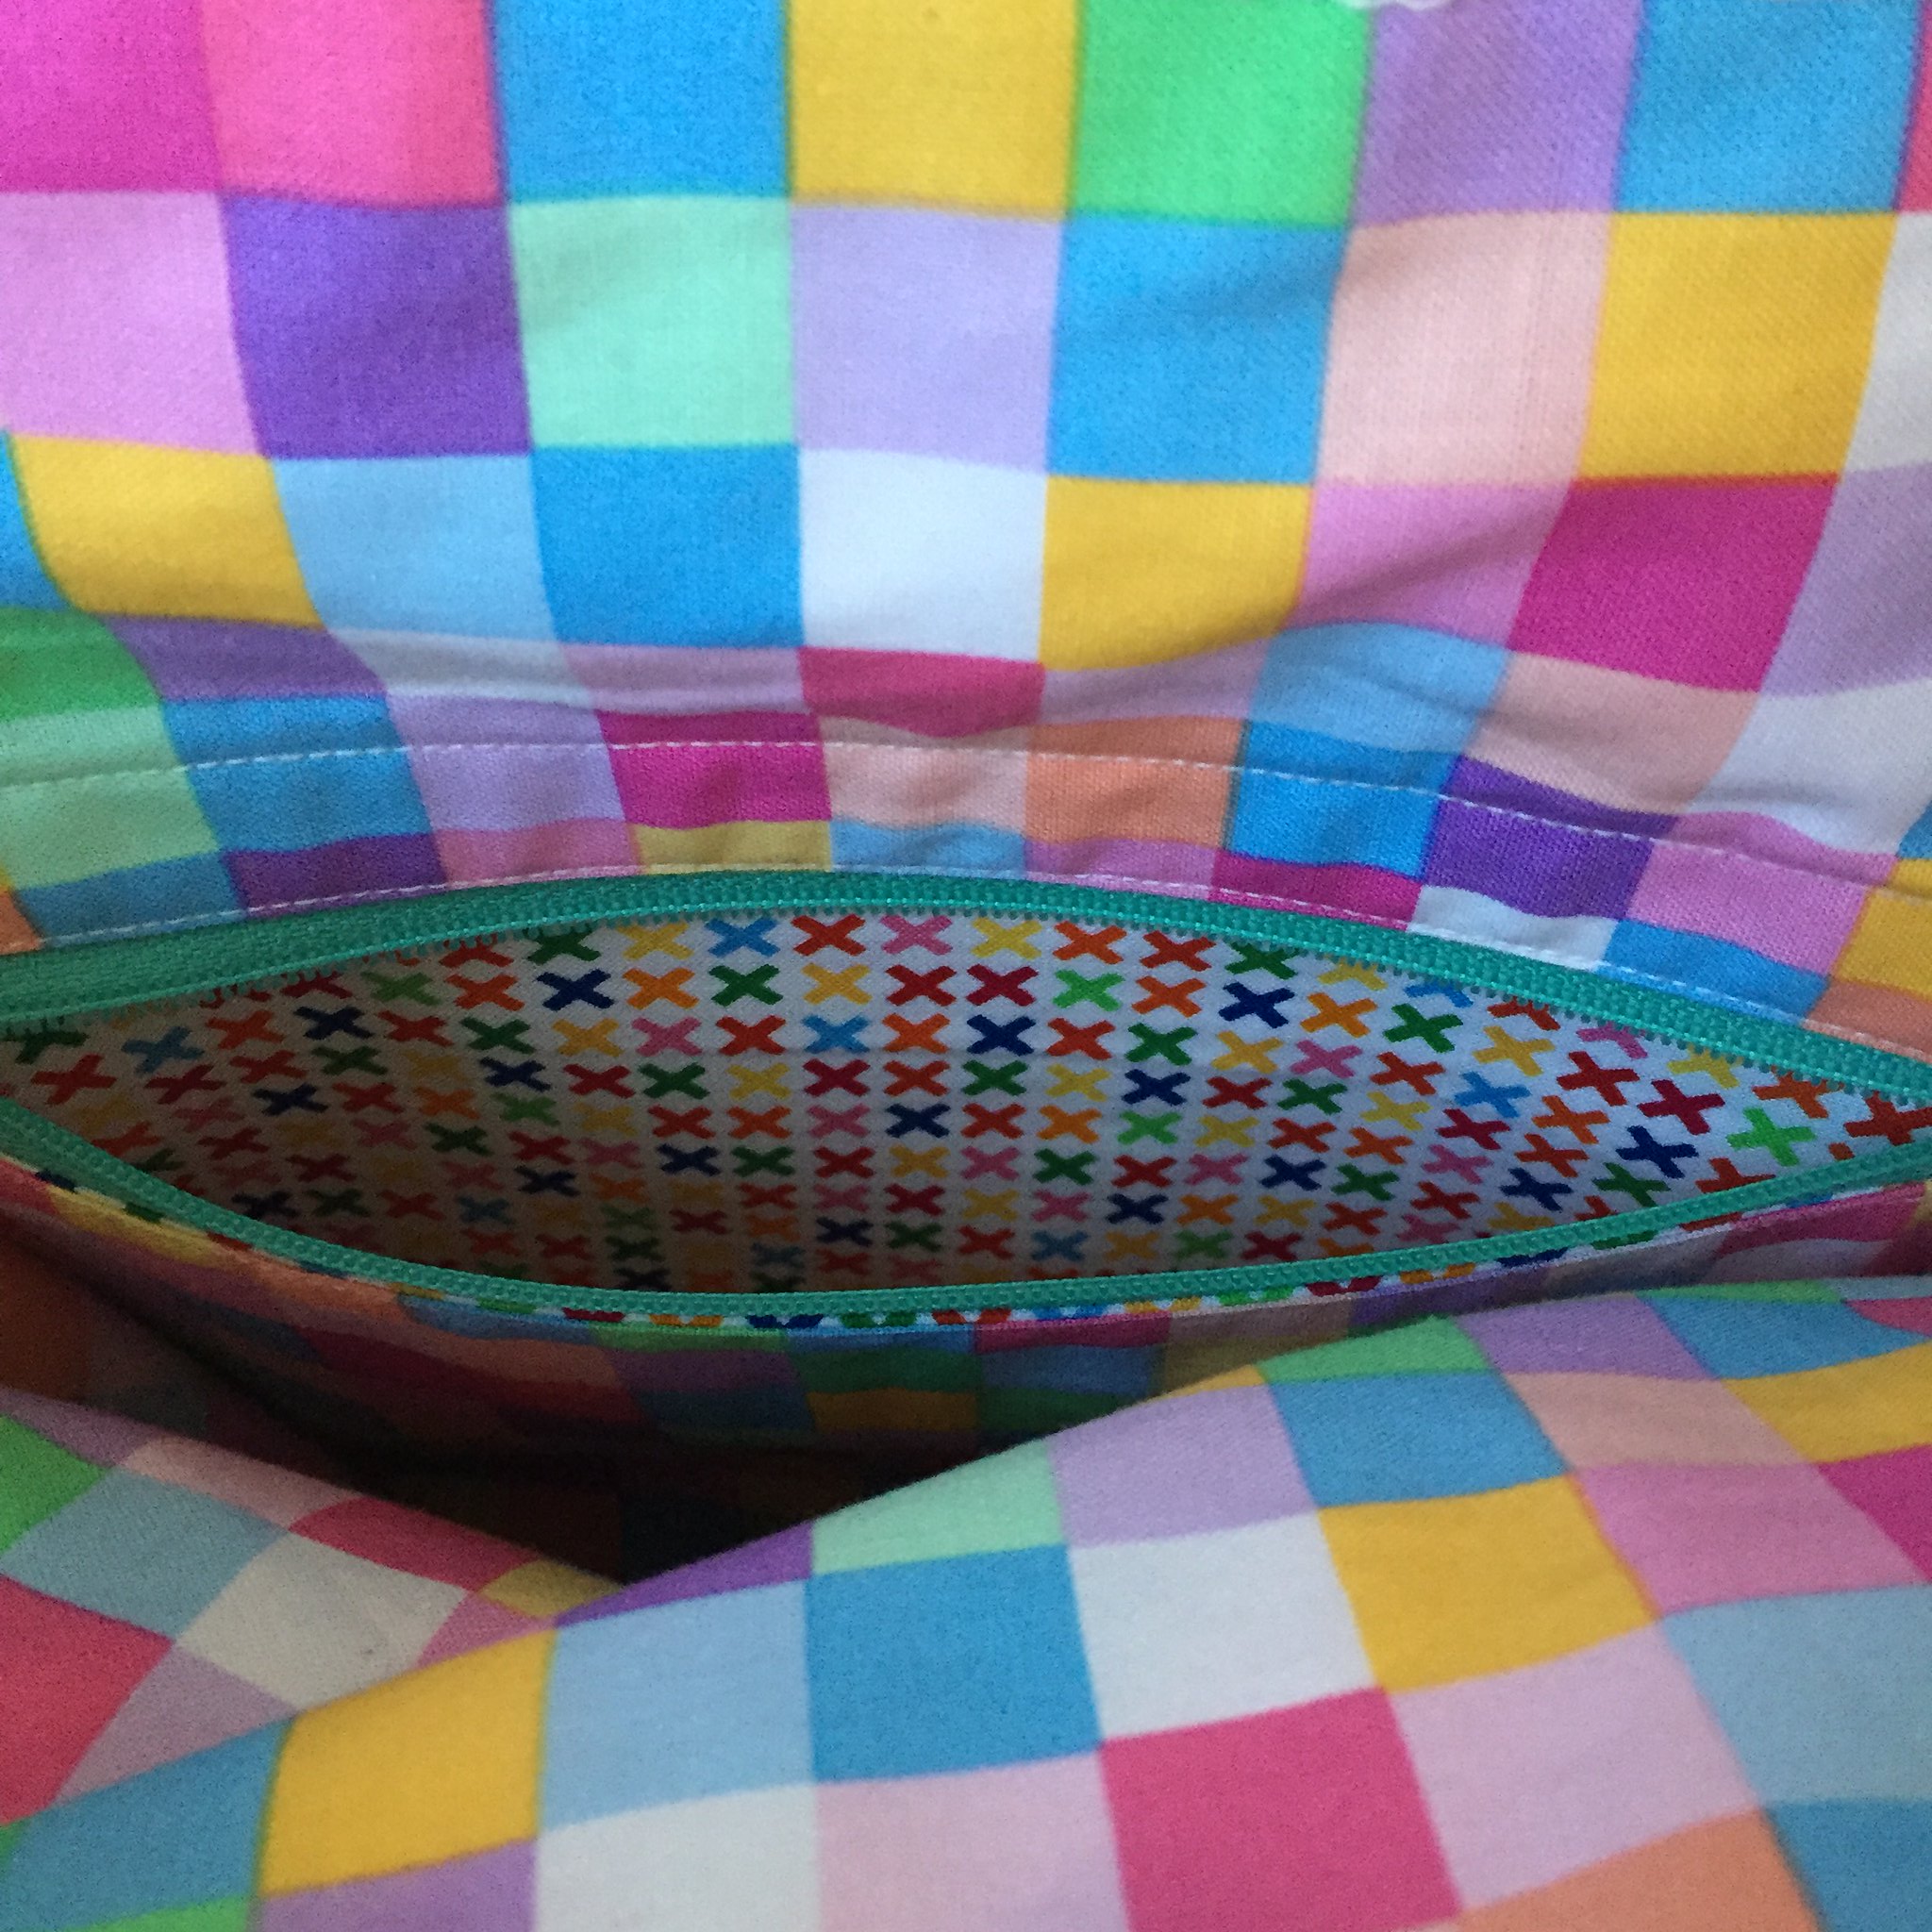
On the inside of the bag there’s just as much of a party going on than the one on the outside! I added a zipper welt pocket because pockets are fun, and I used a third print inside the pocket!
The front has a total of four slip pockets and two of those are pretty deep, but I can still easily get my hand all the way to the bottom of them.
The pattern called for using Fold Over Elastic (FOE) to edge the tops of the pockets, but I used some bias binding instead - it was easier to find the right color locally.
I’m really happy with how my bag came out. It’s a very happy bag and it’s plenty big for a sweater. I’ve got Dexter in it now and there’s still room to spare for my iPad. I’m pretty sure I could easily get a worsted weight sweater in progress in there. This was a fun project and the directions were very straightforward. I had to do some extra thinking but that was due to the changes I made.
Have a great weekend!
Labels: Loopy Academy, sewing


1 Comments:
It looks GREAT!
Post a Comment
<< Home