The Ninja Skirt
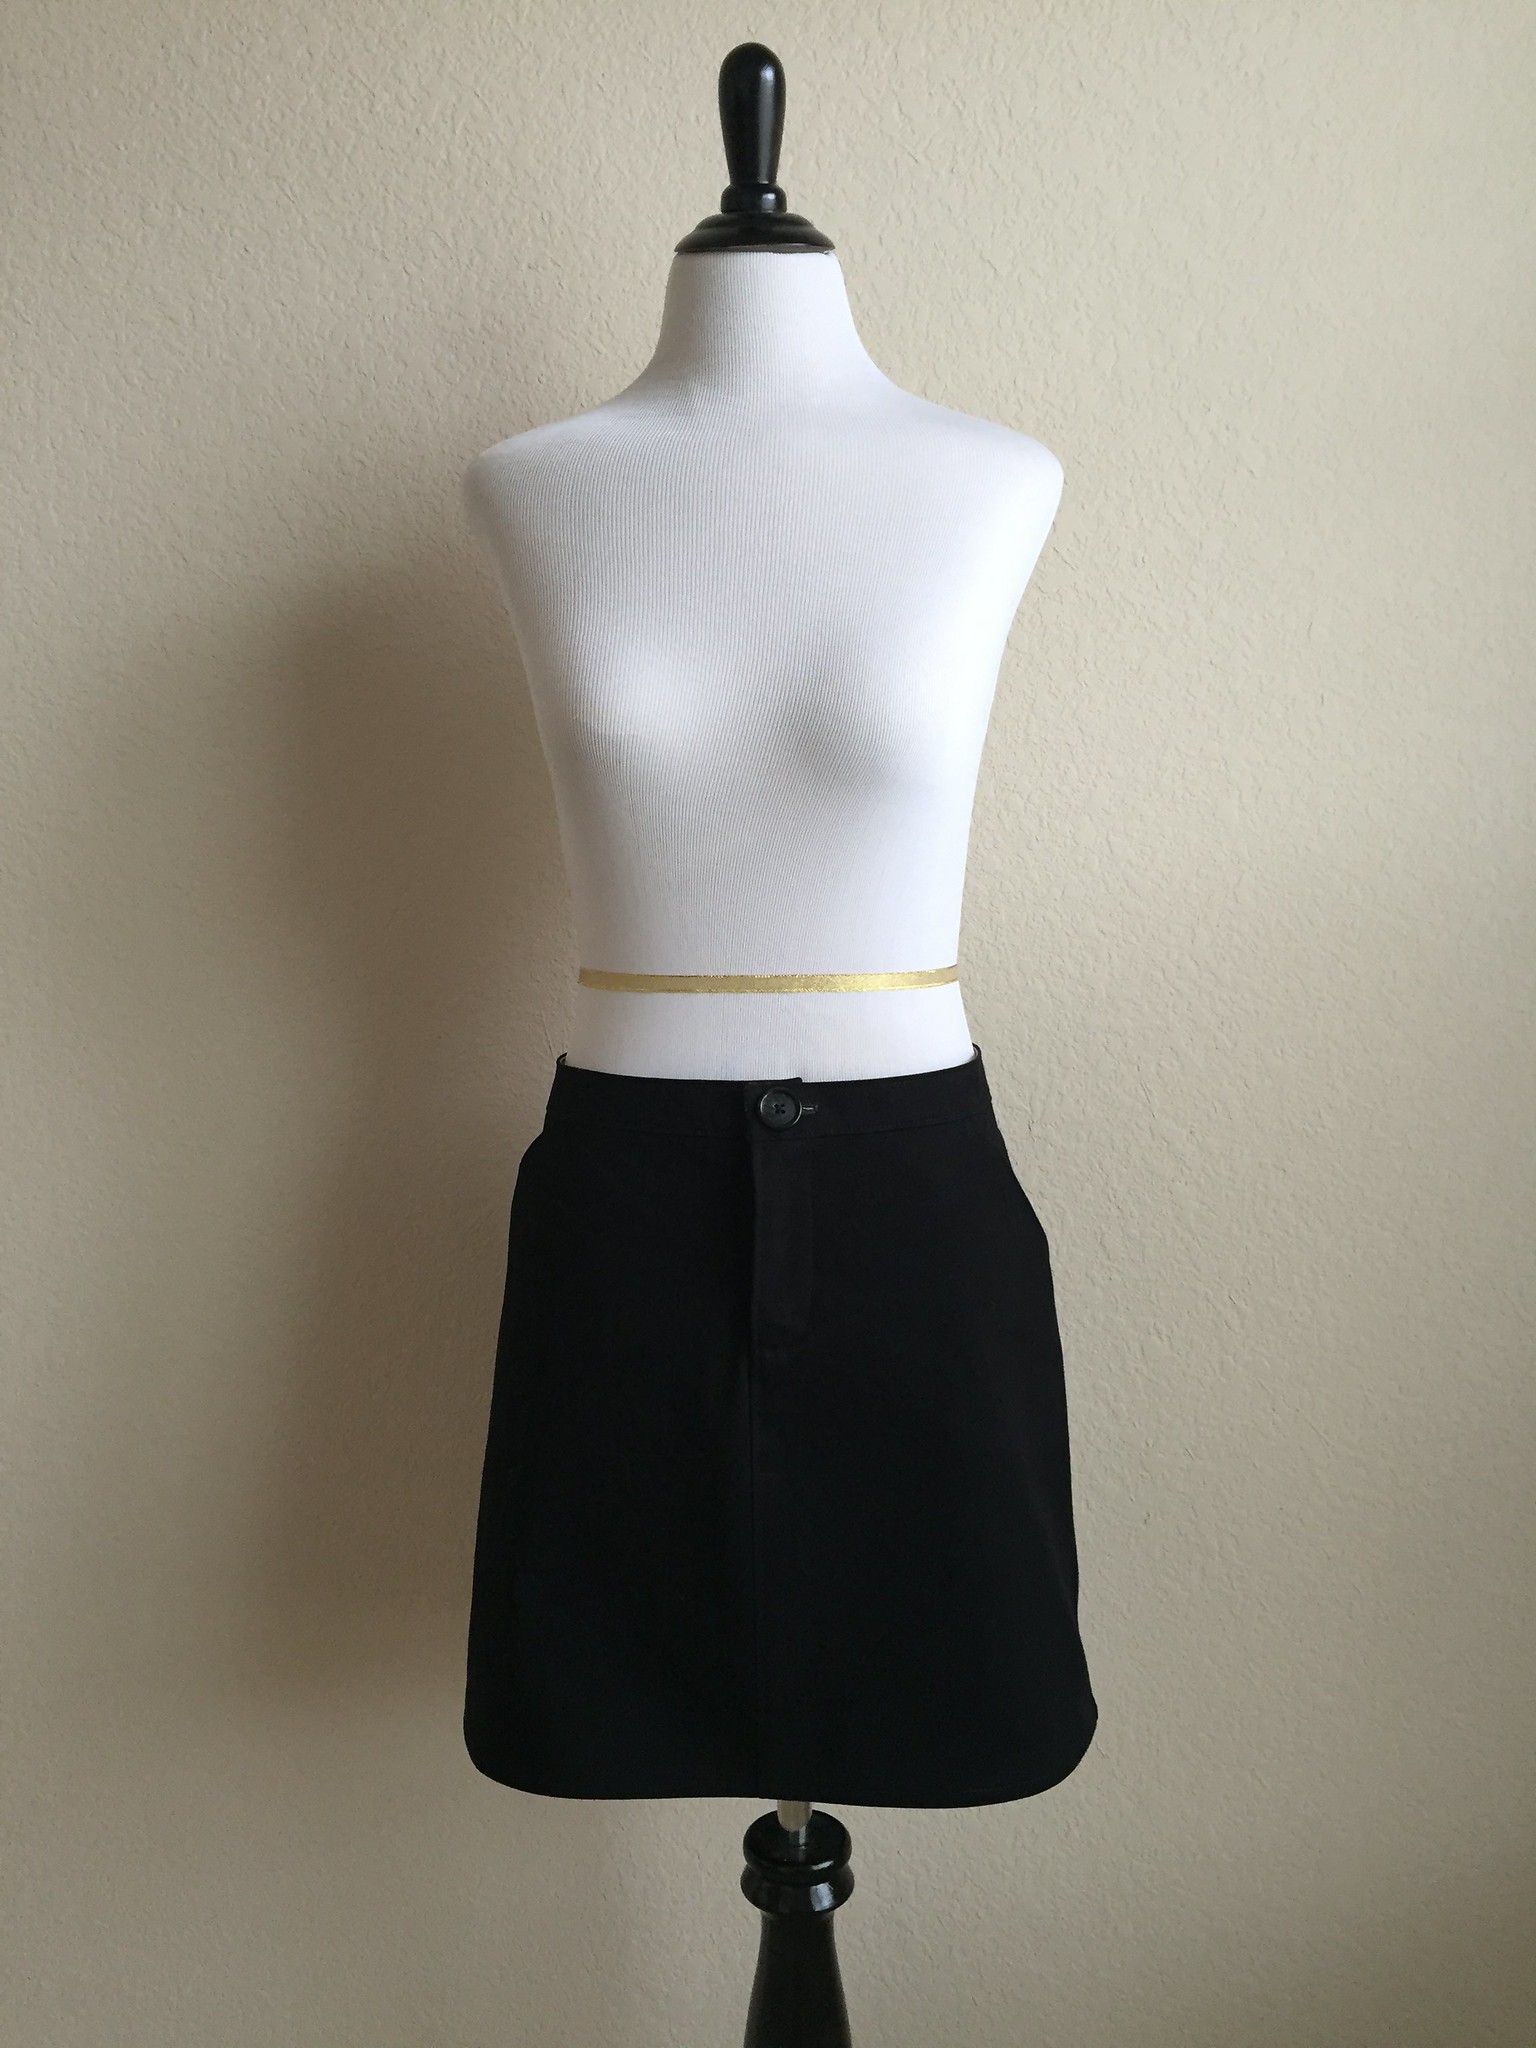
I made a skirt over the long holiday weekend and I’m thrilled with it! This is the Moss Skirt from Grainline Studios and since it was my first time making it, I just picked up some heavy black twill from Hobby Lobby to check it out. I think after using my 40% off coupon, the fabric and zipper were easily under $10. I had the interfacing and the button came from my button stash. This meant that even if the entire thing were an epic fail, I wasn’t really out very much money. (Disclaimer, Fifi has no butt and hips. I had to pin the skirt in the back to get it to stay on her. Her other measurements are very close to or identical to mine, but in this case, Baby DON’T Got Back (with apologies to Sir Mix-A-Lot).)
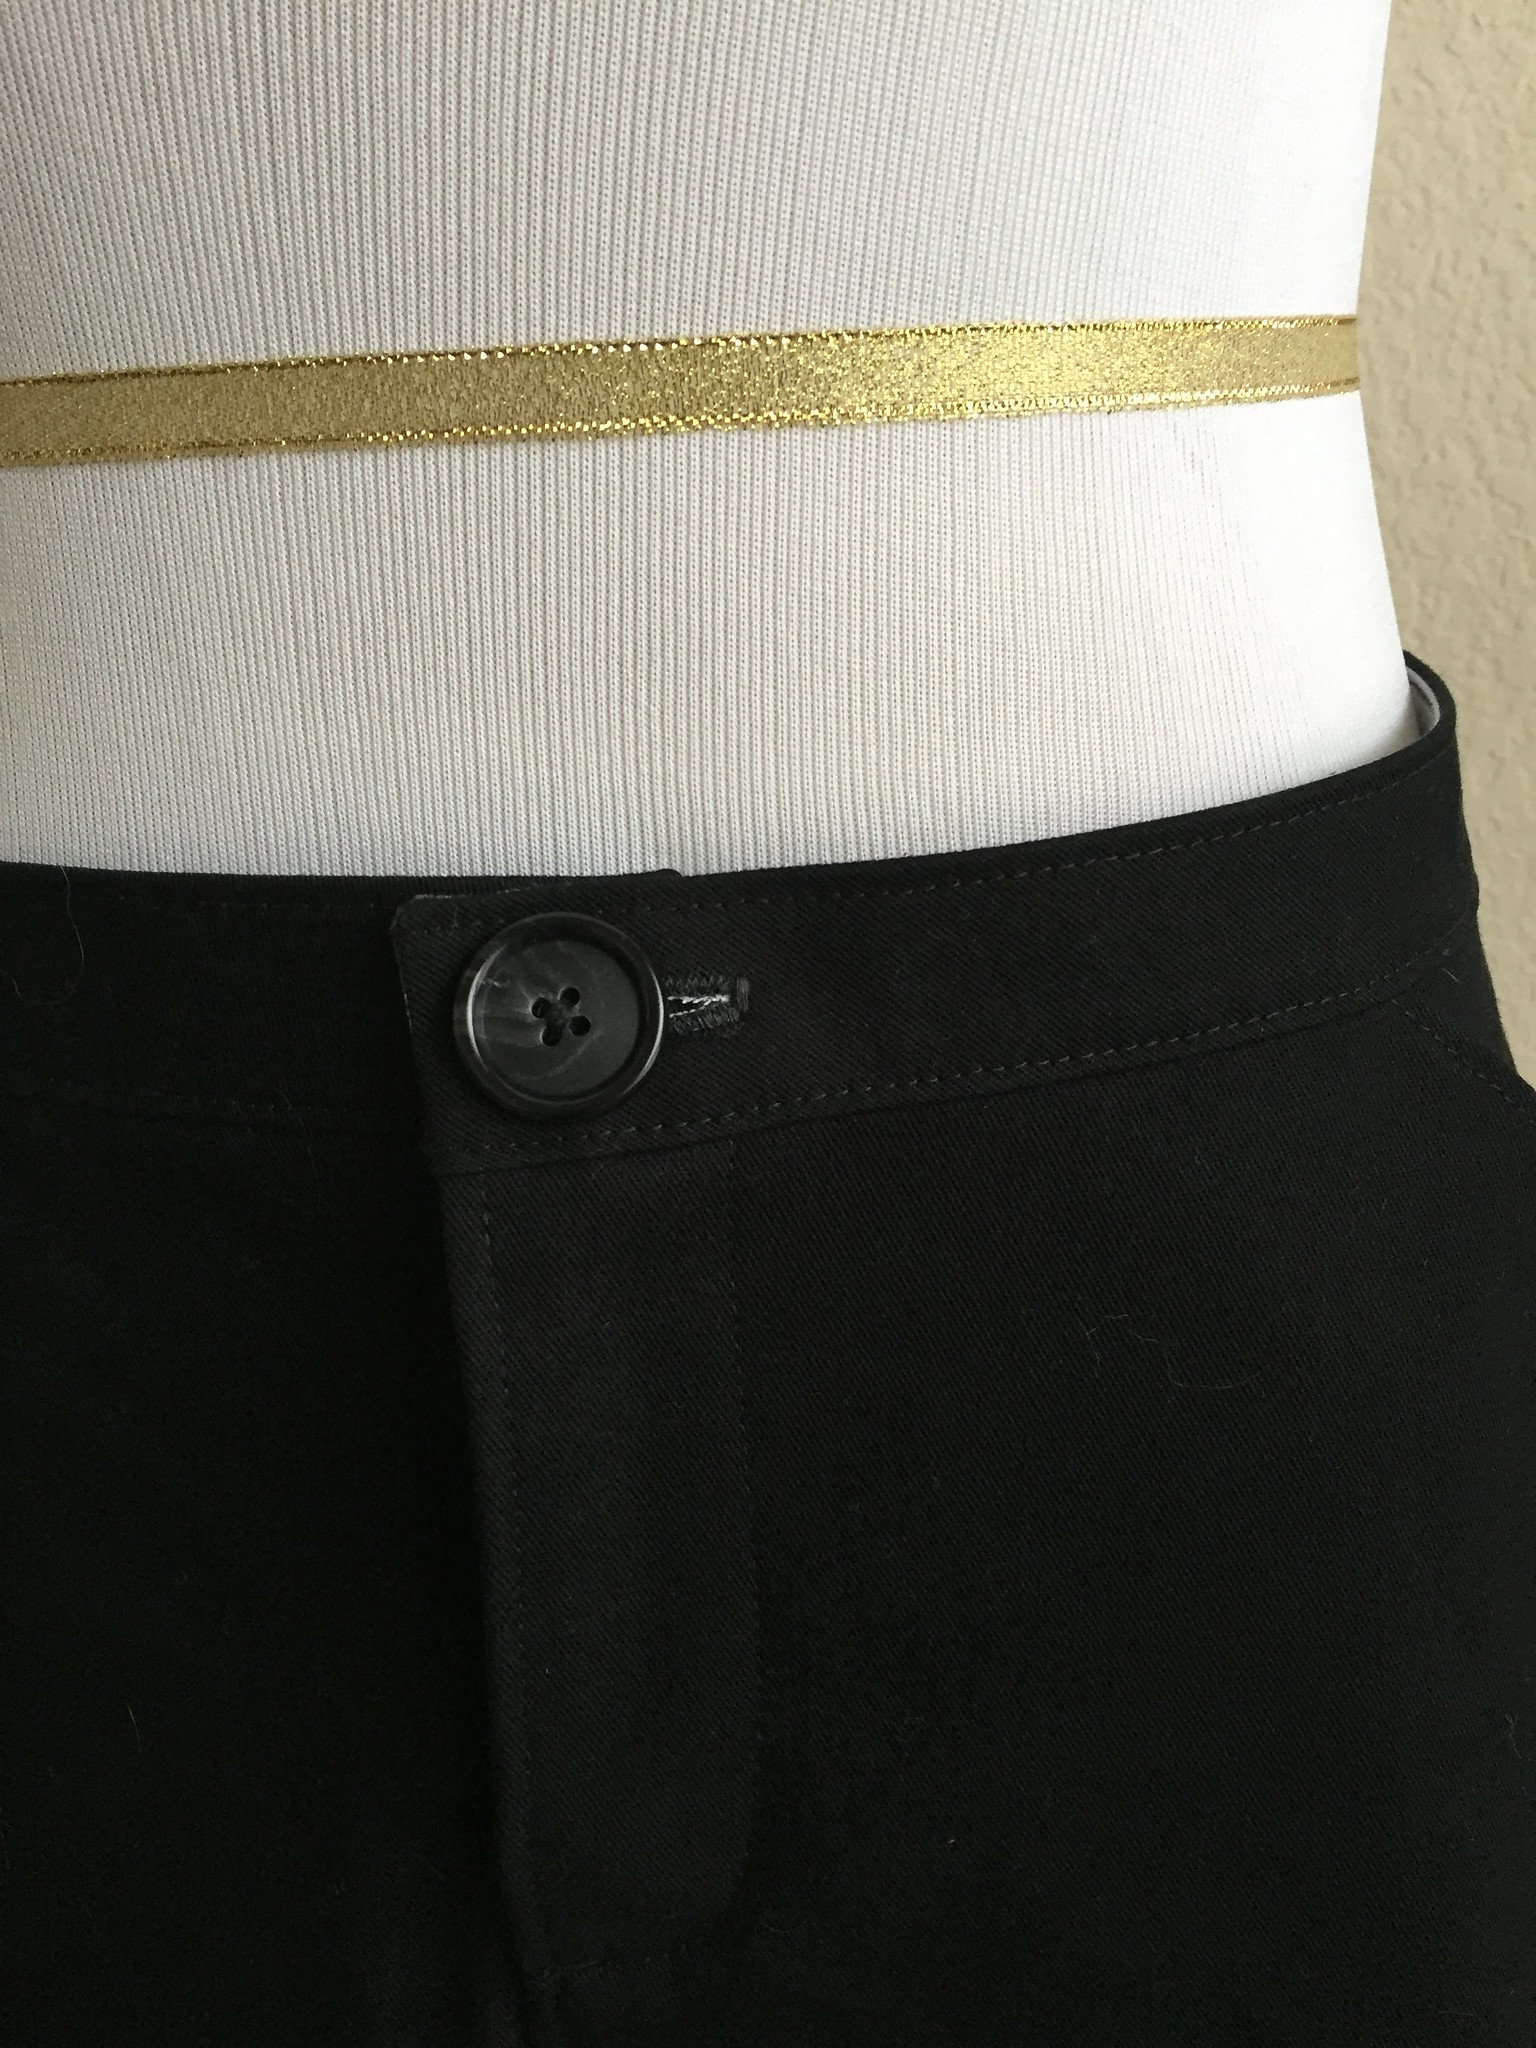
Fortunately, it worked out perfectly and I love it and now I have a super cute, super cheap black skirt! I made the size 8 after comparing my own measurements to the pattern sizing and comparing a similar denim skirt to the measurements of the actual pattern pieces. The big thing I was worried about was that the denim skirt was a stretch denim and my black twill was not. I think if I were to make this skirt in a stretch fabric, I would drop down to the size 6. The only change I made to the pattern was to add three inches to the length of the skirt. I wasn’t sure if I wanted an additional three inches, but I knew I could always chop it off later. Apparently, when the pattern was first released it was shorter than it is now and when you Google “Moss Skirt Pattern Reviews” they don’t really say if they used the shorter, original pattern or the slightly longer, revised pattern. Mine is the slightly longer, revised version. (Am I the only one who Googles for pattern reviews before jumping in and sewing?) One thing that did throw me for a loop at first was the finished garment measurements. I could not figure out how the skirt could have the finished length listed in the pattern, but finally I realized that the finished length of the skirt was not from the skirt waistband to the hem, but from the wearer’s waist to the hem. The skirt isn’t meant to sit right at the waist, it sits a little bit below the waist.
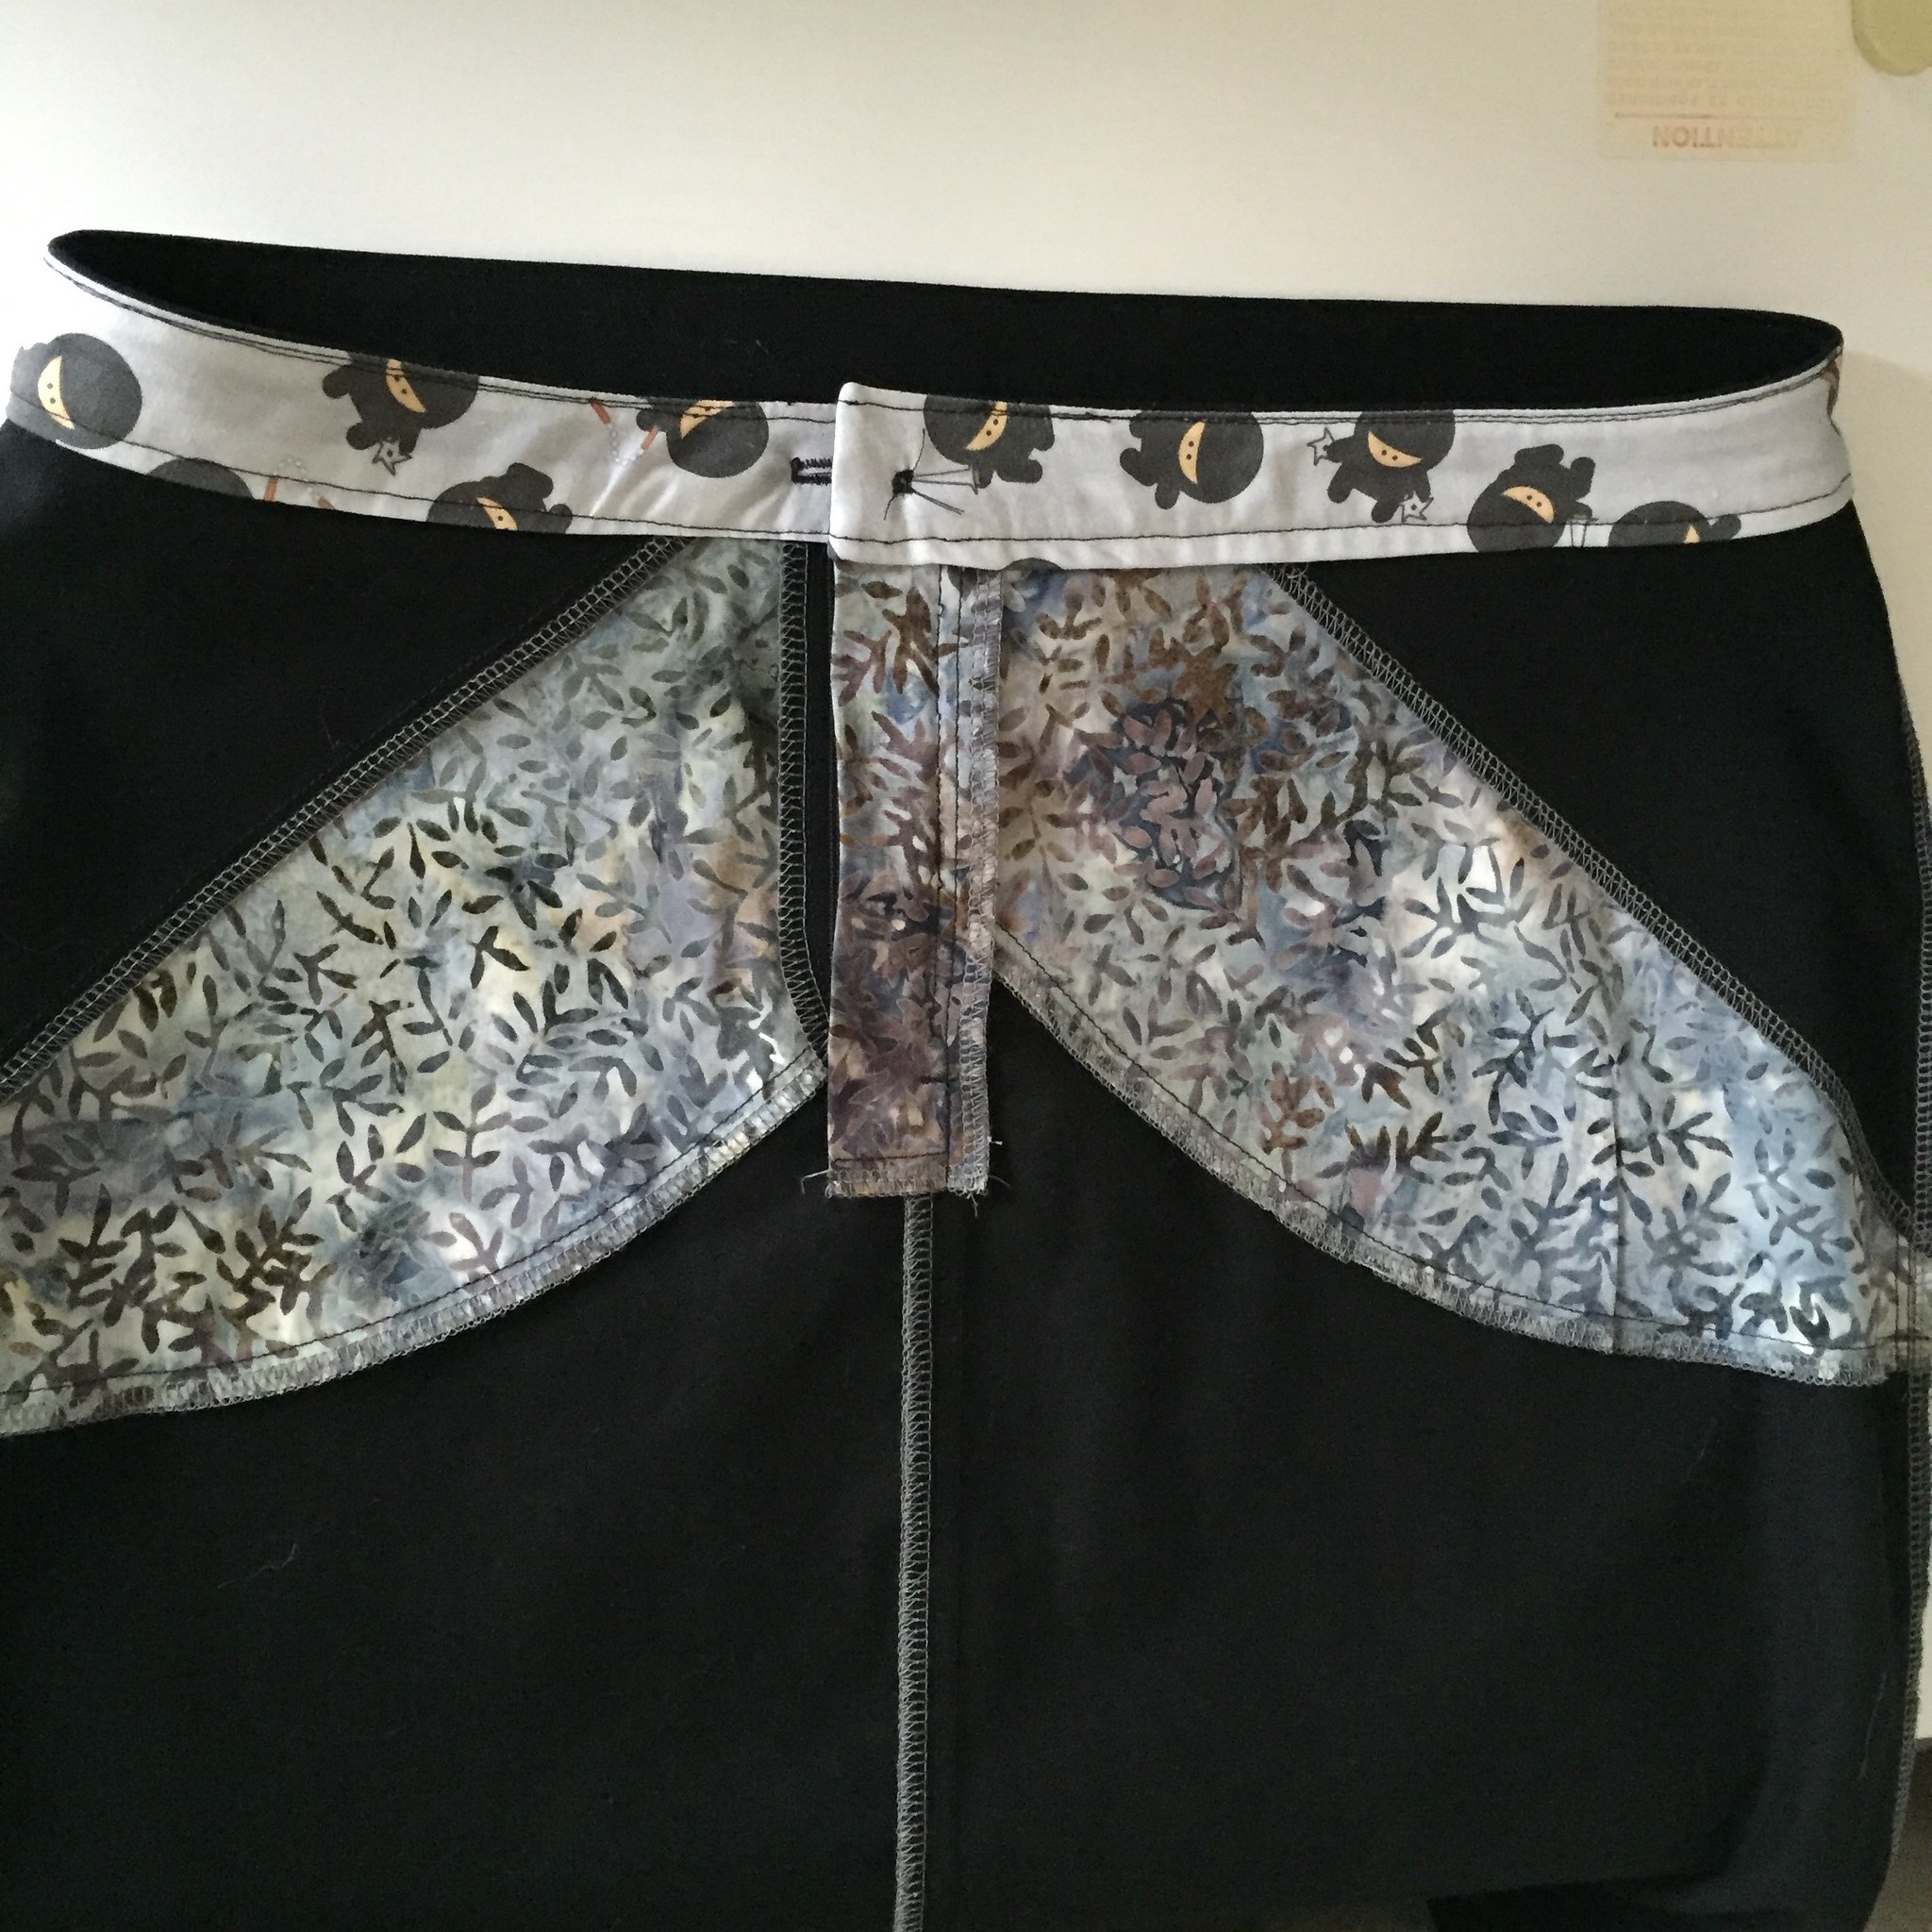
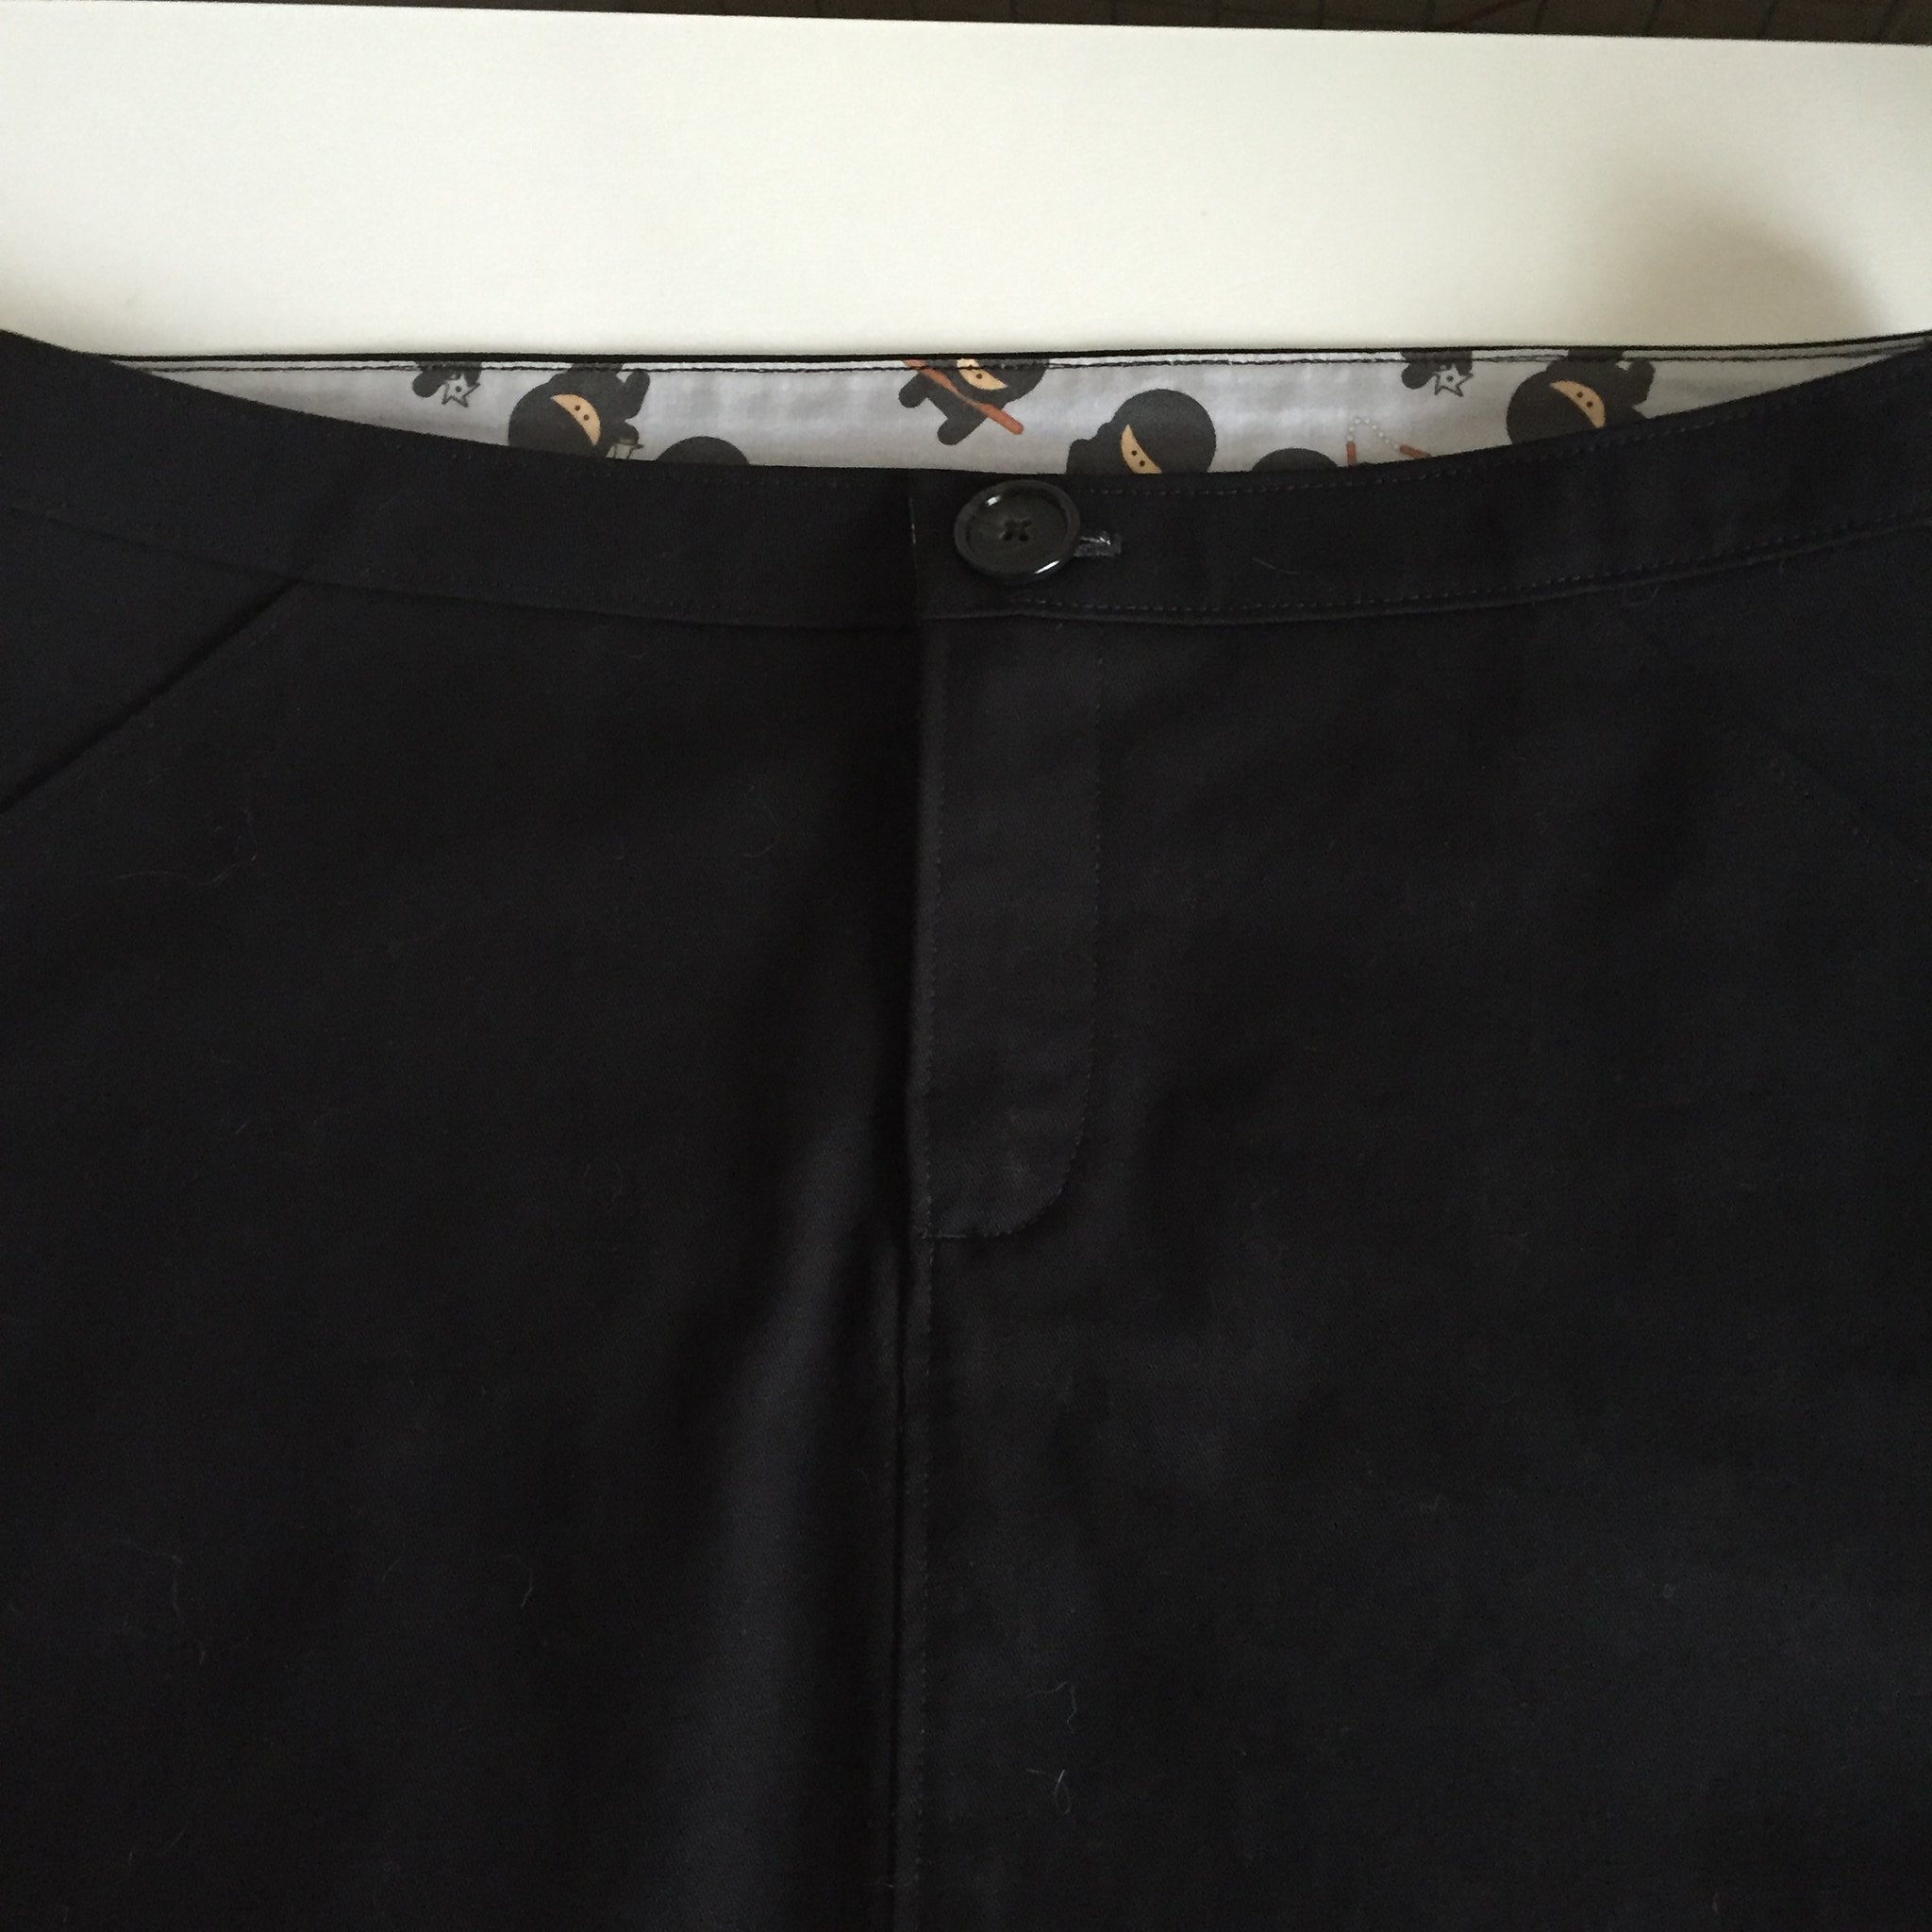
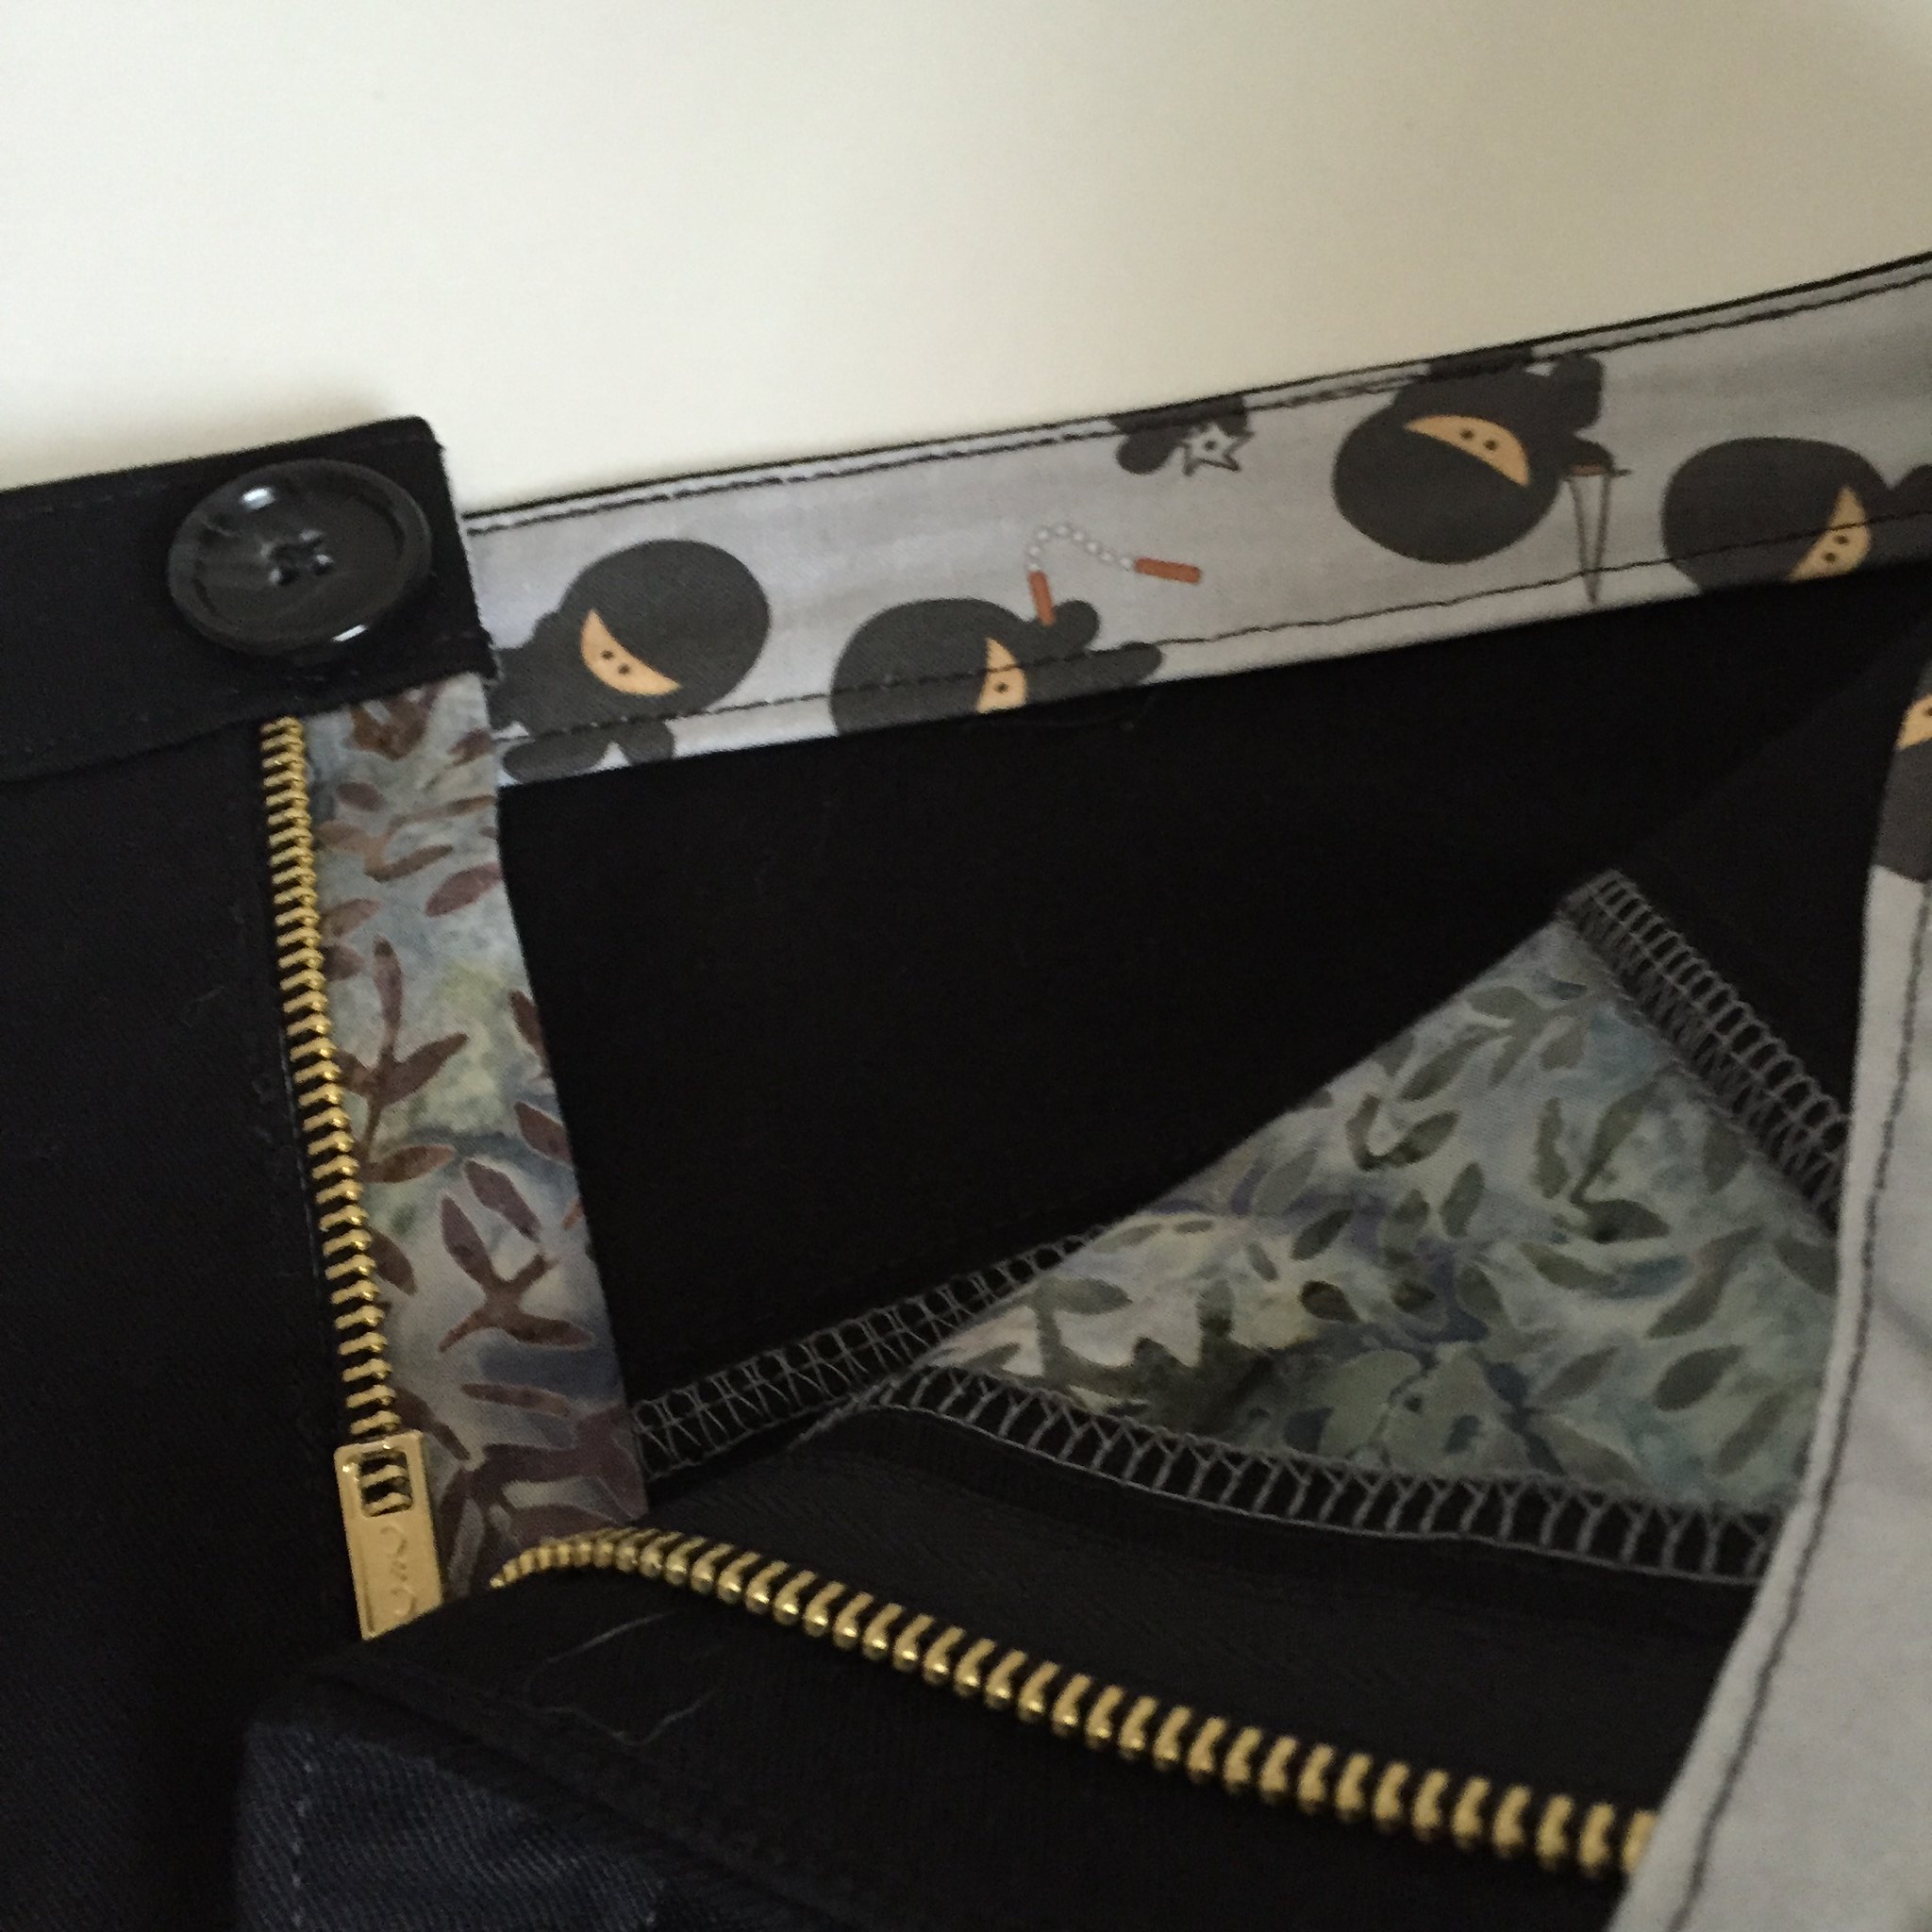
Since my fabric was a pretty serious twill (I’d guess somewhere between medium and heavy weight), I decided not to use it to line the pockets or for the waistband facing. Instead, I grabbed some quilting weight scraps from my chevron quilt. I started with a batik and used that for the pockets and the fly shield, but then I didn’t have enough of that print for the waistband facing. Like any sensible person would do, I decided to use some of my leftover ninja fabric from Spoonflower (hence, the name of the skirt). Also, while using black thread in my serger would have been the logical choice, I went with gray to match the lining fabric, the ninjas, and because I knew it wouldn’t show through the black fabric. It’s kind of a party on the inside of this skirt!
I did a ton of topstitching on this skirt, partly because I love topstitching, and partly because I knew it would look great on this plain black skirt. (Unfortunately, black topstitching on a black skirt isn’t super visible in photos.) I sewed each seam, serged outside the seam line (just enough to trim the edges a bit), and then pressed the seams to one side where I topstitched them down. Those babies aren’t going anywhere!
I used a metal zipper because with the weight of this skirt it just made sense to use a zipper that meant business. The fly wasn’t hard to do, I just took it very slowly and used lots of pins and my trusty fabric glue to get everything in the right place.
Once I had the whole skirt all finished except for the hem, I started playing with the length. I decided to document the different lengths, so I could make length decisions faster on future Moss skirts (yes, there will be more). To start with, I folded up the hem (on the outside, with pins on the outside so I didn’t stab myself) to the place it would be if I had cut it out and finished it exactly as the pattern called for. Then I took some really awful selfies in the bathroom mirror - both front view and side views, and added text to each photo. I now have a hideous collection of pictures of this skirt at the original pattern length, pattern +1 inch, pattern +2 inches, and pattern +3 inches. (No, I will not share them with the blog. You’ll have to make your own bathroom selfies with this skirt.) Then I made some notes on the envelope where I keep the pattern pieces and next time I’ll reprint the skirt front and back pieces and only add in the measurements I need. I decided to make this one the pattern +1 inch length and will probably wear it with tights. I think for a warmer weather version, I would make it pattern +2 inches. It’s still a short skirt, but not so short that I can’t bend over without flashing everyone. Also, I’d like to give a little shout out to the back yoke section of this skirt. It raises the back of the skirt just a bit and it sits perfectly close to my back - no gaposis, no mooning! As anyone knows who’s ever worn low rise jeans or skirts, this is a concern. (Sorry Mom! That sound you all hear is my mother beating her head against her table - she tried so hard to make me ladylike and here I am discussing mooning people on the Internet.)
I totally plan to make this skirt again (and again, and again…)! I’ve got a white cotton pique (woven, not knit) that will be awesome in this for the summer and I’m thinking about an army green twill with black topstitching, and maybe one or two in linen for summer. I’d also love a few of these in corduroy for fall and winter. If I get cocky, I did find a pewter velveteen that would be amazing, but I’m not jumping straight into velveteen.
I realized that I probably shouldn’t bother too much with sewing for winter right now because I’m not going to be able to do much Me stuff until after the end of the year (hello Loopy Academy knitting, Loopy Academy sewing, Christmas knitting, Christmas sewing), and winter pretty much clears out of here around Valentine’s Day. If I was smart, I would start sewing for spring and summer in January, and then start sewing for fall and winter in July. Then I would have the things to wear in time to wear them. We’ll just have to see if I’m smart or not!
Did I mention there are ninjas in this skirt!




0 Comments:
Post a Comment
<< Home