More Quilting

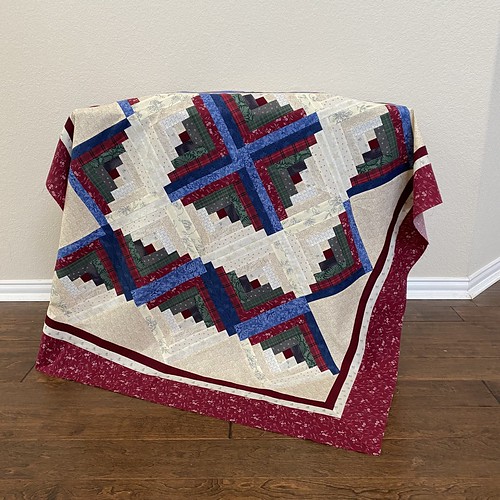
Last time I showed you this quilt I was ready to put borders on it. I sat down with the fabrics leftover from piecing the blocks and started playing. After trying several different things and nothing being quite right I finally realized that this quilt wanted light colored borders. Once I realized that it was easy!
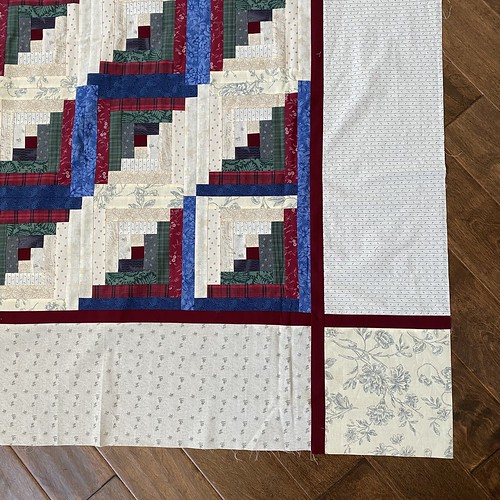
I decided to do a narrow border of the dark red I used in the center of the log cabin blocks and then do a second, wide border. I didn't have enough of a single fabric to use for all four sides, so I decided to use two different fabrics and a third for corner squares. The quilt top uses so many different fabrics in each block -seventeen to be exact- that I thought this approach would work, and I'm very happy with it! (Also, this photo was taken before it had its final pressing, sorry about the wrinkles.)
I can't remember if I mentioned the small throw the other day, but when I made the blocks for the king size quilt I made a few extras. I ended up having enough for a throw size quilt, so that needed borders too. That one did get dark borders, and since I set the log cabin blocks on point (diagonally instead of square for you non-quilters out there), I did mitered corners.
Finally, I had to decide on backings. The last time we talked about this the question was "To Flannel or Not To Flannel?"

I decided the answer was both! The plaid you see in the background is the backing for the king size bed quilt. It's Robert Kaufman Mammoth Flannel (which are really wonderful flannels if you've never used them). The folded gray floral is the backing for the throw quilt and it's just regular quilting cotton.
I was able to get both tops and backings finished yesterday and they are somewhere between north Texas and Colorado now! Have a good weekend!
Labels: Quilting
posted by Melanie at 8:40 AM
![]()


0 Comments:
Post a Comment
<< Home