I finished up my
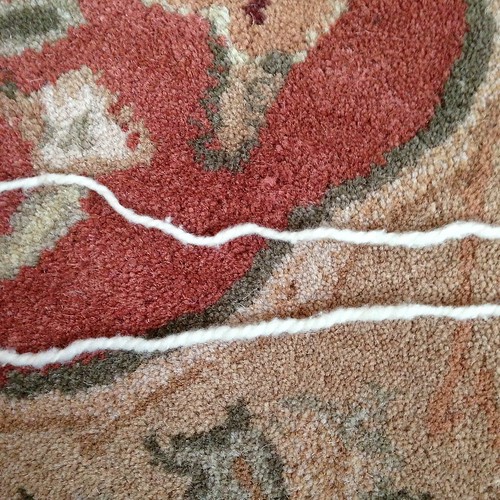
Woodstove Season Cardigan yesterday. This was my first sweater for my Knit Something: Sweaters 2013 project. Above you can see the yarn both unwashed and after washing (below). You can see how it fluffed up, straightened out and softened.
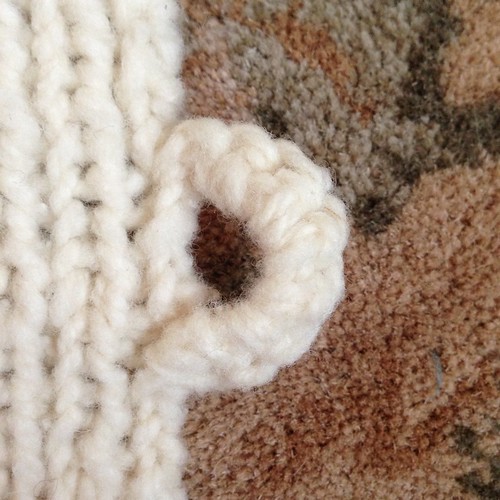
Once the sweater was dry, I sewed the pockets on and set about figuring out the button/buttonhole situation. I tried it on and marked placement for the buttons and then went to my handy
Knitters Book of Finishing Techniques (also where I got directions for sewing on the pockets). I chose crochet loops for buttonholes and sat down and made them. Ten of them in total.
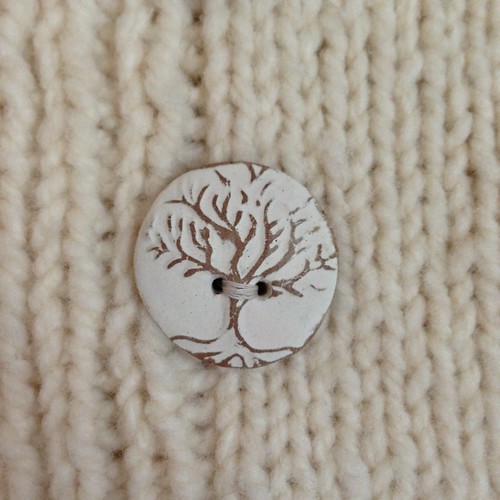
Then I sewed on the buttons, opposite the buttonholes. I used quilting thread (the buttonholes were too small for yarn) and I put a little piece of ivory felt on the backside of the buttons to add some stability. I got the buttons from
BeadFreaky, she made them this color, just for me, just for this sweater. (I love that Etsy sellers will customize things.) Then I tried it on again. And I loved it. I'm wearing it today. Want to see?
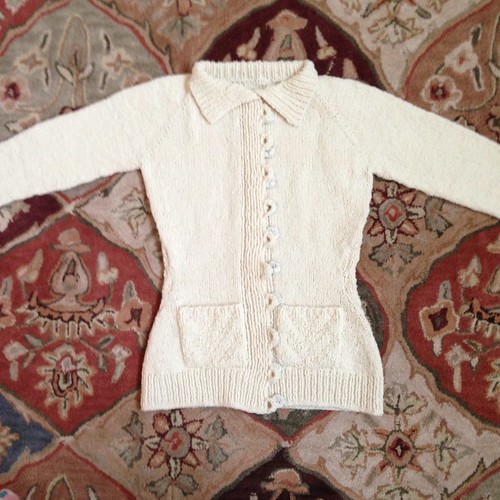
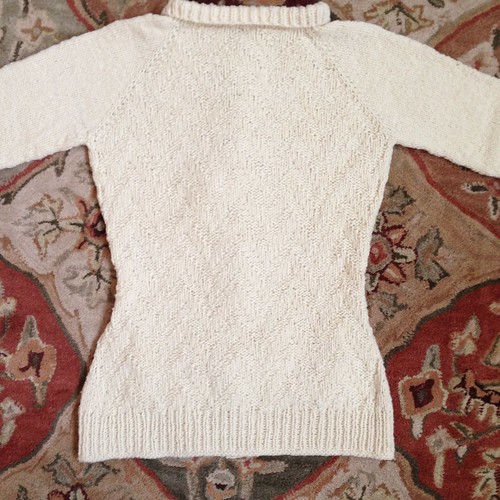
The front and sleeves are stockinette while the pockets and back are the textured chevron pattern.
Here's a shot of the back. The lighting wasn't that great this morning so it was hard to get the texture, but you can kind of see it, which is really how the sweater looks in real life - the texture isn't super obvious, like a cable would be, it's more subtle.
I love the finished sweater. It's a little oversized, but with the shaping it doesn't look like I'm wearing a paper bag either. There's room enough underneath it to wear layers, so it will be great for colder days. I used a discontinued yarn from
Beaverslide Dry Goods (it had previously been knit into another sweater but I never wore it, so I frogged it and re-stashed the yarn). The yarn I used is very similar to the yarn called for in the pattern,
Brooklyn Tweed Shelter. I have some Shelter in the stash and comparing the two, they are both two ply, woolen spun yarns that are soft and cottony feeling. (Both yarns are 100% wool, but they feel kind of like cotton balls for some reason.) If I ever knit this pattern again (and I like it enough that it's a possibility), I would leave off the front band stitches when I cast on, and just knit those last. It's an extra step, but doing them that way means I get perfectly sized buttonholes that are perfectly spaced. I do like the look of the loops on this though!
Have a great weekend and I'll show you the next sweater next week!
Labels: Cardigans, sweaters2013


1 Comments:
I love the buttons! Sweater is really pretty!
Post a Comment
<< Home