I’ve Been Sewing!
Last week I spent an afternoon cutting things out. I don’t enjoy cutting very much, maybe because of the permanence and my tendency to do things upside down and backwards. It worked out well though, just doing a bunch of cutting in one day and now I can just sew.
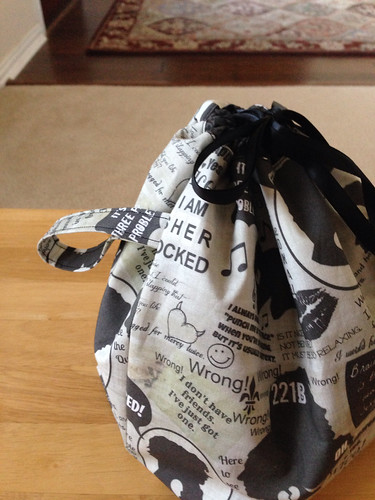
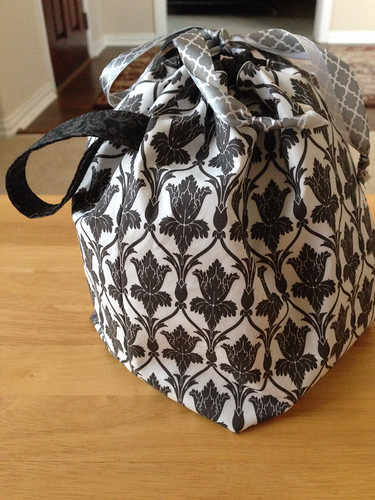
One of the things I cut out, was four more of the Medium Sock Sacks. I did this pattern once, and I love the size and the center zipped divider. This time around I used fusible interfacing for a bit more stability, and I added a wrist strap. I don’t often use a wrist strap around my wrist, while I’m knitting, but I do love them to hook around a finger as I’m carrying my stuff around. I could use the drawstrings, but having a wrist strap just works better for me.
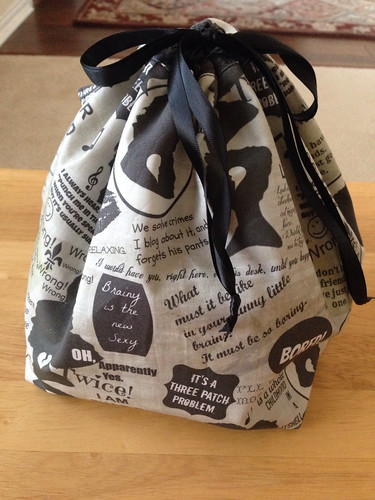
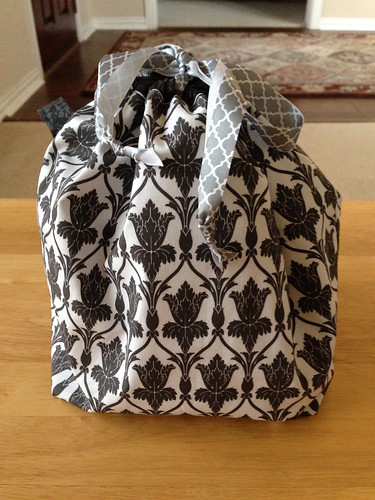
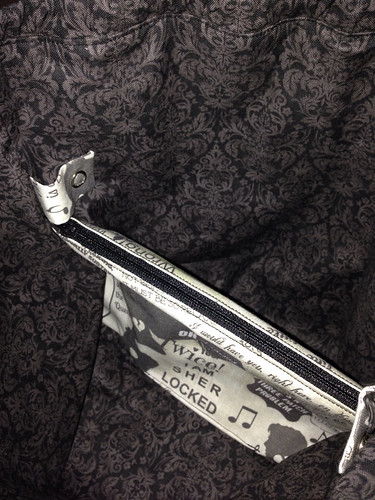
I got two of the bags all finished yesterday. These are both in my Sherlock fabric from Spoonflower and for lining I used a black and gray jacquard print from Hobby Lobby. I was able to sew both of them with black thread, which is why I made them together. (The other two bags, waiting to be sewn, need blue thread.)
Here’s a shot of the wrist strap I added. If you’d like a tutorial or directions, let me know in the comments.
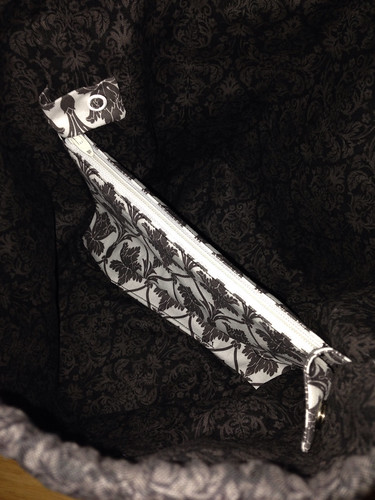
The inner divider is zipped, which makes it nice to hold the little accessories we need for knitting. The medium size is actually large enough for a shawl and a pair of footie socks. According to the pattern, the small size is meant for socks and the large size for a sweater. The pattern designer is a knitter, so I don’t doubt that either of the other sizes will work just as well.
You can see the little snap tabs just above the zipped divider - those are yarn guides!
This is a great pattern! The kind of thing that looks like it would be really involved (at least to me), but once you start sewing it up, you realize it’s not that hard after all. The finished project is also super functional, for a knitter at least!
I’m going to get the other two sewn up soon, so if you want details about the wrist strap, leave a comment! Am I the only one who likes to coordinate my project bags with my project colors?
Labels: sewing




5 Comments:
I just love this bag! I've started making my own project bags recently and I love being able to pick my own fabric. I've only really made very basic drawstring bags... but would love to try this one!
Can you share what pattern you used for these bags??
I like pretty project bags, but have never considered the need to color match!
Love the bags!
Would love to know the pattern. Who can't use more bags?
I purchased this pattern a while ago, and I've been itching to make one! Yours are great!
Post a Comment
<< Home