<body><script type="text/javascript"> function setAttributeOnload(object, attribute, val) { if(window.addEventListener) { window.addEventListener('load', function(){ object[attribute] = val; }, false); } else { window.attachEvent('onload', function(){ object[attribute] = val; }); } } </script> <div id="navbar-iframe-container"></div> <script type="text/javascript" src="https://apis.google.com/js/platform.js"></script> <script type="text/javascript"> gapi.load("gapi.iframes:gapi.iframes.style.bubble", function() { if (gapi.iframes && gapi.iframes.getContext) { gapi.iframes.getContext().openChild({ url: 'https://www.blogger.com/navbar.g?targetBlogID\x3d10582443\x26blogName\x3dPink+Lemon+Twist\x26publishMode\x3dPUBLISH_MODE_BLOGSPOT\x26navbarType\x3dBLUE\x26layoutType\x3dCLASSIC\x26searchRoot\x3dhttps://pinklemontwist.blogspot.com/search\x26blogLocale\x3den\x26v\x3d2\x26homepageUrl\x3dhttp://pinklemontwist.blogspot.com/\x26vt\x3d4292445769315597913', where: document.getElementById("navbar-iframe-container"), id: "navbar-iframe" }); } }); </script>

Monday, August 17, 2015

Camp Loopy 2015, Project 3, Finished!

image 
I’ve finished my quilt!  Saturday morning I sat down and finished sewing the binding down on the back side.  As soon as I’d finished, I started getting pictures for Camp Loopy.  Once I get everything uploaded into The Loopy Ewe, I’ll be finished with Camp Loopy for this year!  This was the first year I’ve done the sewing version of Camp Loopy and it was very different from the knitting version.  Sewing is overall faster than knitting, but I found myself being pushed creatively more with sewing camp than I am with knitting camp.  With knitting camp, the primary challenge is to just keep knitting so you don’t fall behind!  I definitely enjoyed it, and unlike knitting camp, I was able to sew on non-camp things as well this summer. (Wiksten tank, anyone?)

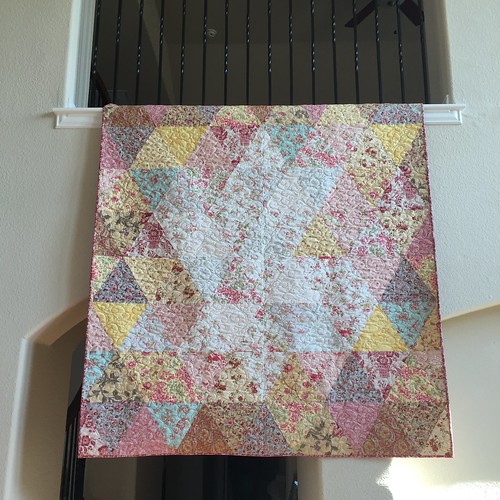
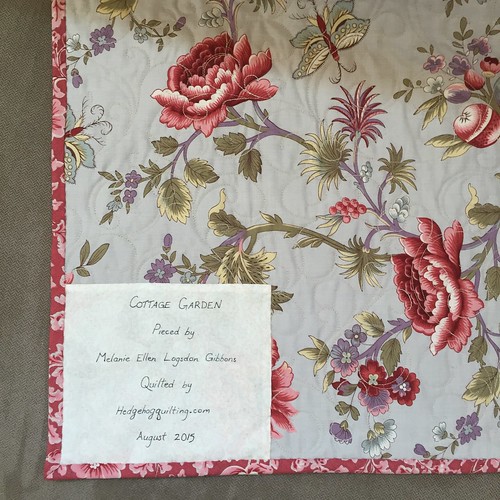
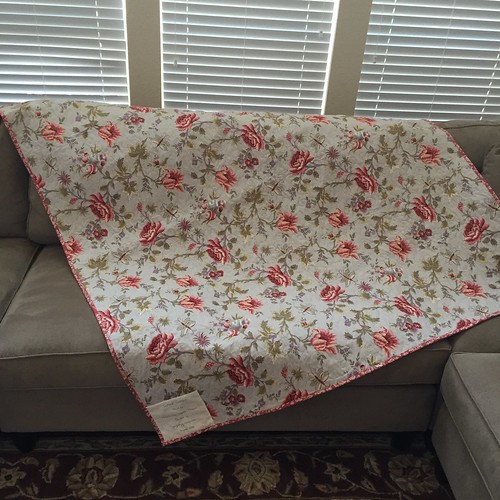
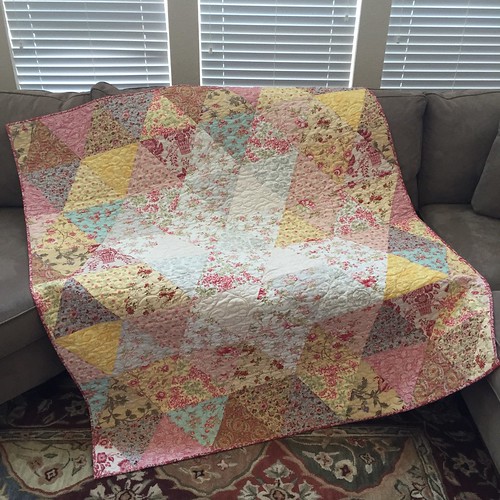
Anyway, back to the quilt!  The challenge was to use colors or fabrics you don’t usually use.  I almost never use yellow and I have never used this many floral fabrics in one project.  There was a decent chance that my quilt would look like a flower shop threw up on it, but I love the finished project.  I used a darker red floral for the binding because there are no borders on this quilt, and I felt like a darker color would act a bit like a frame.  The backing is a large scale floral.  Here’s the label and a peek at the backing:
image
Here’s what the quilt looks like from the back:
image
A detail of the binding at the front edge of the quilt.
image
Once I got these pictures, I put the quilt down and Max saw it for the first time.  (He slept through construction and didn’t get a chance to do quality control.)  After sniffing it, he plopped down right in the middle of it and took a bath.  A very thorough bath.  He’s taken several naps under it when it’s spread out, but when I fold it up, he curls up on top of it too.  I think he’s claimed it as his own! The photo below may be the last time the quilt and kitten were apart. 
image

Labels: , ,

3 Comments:

Blogger Connie said...

It's woNderful! Good job And glad max likes it!

7:51 PM  
Blogger Connie said...

It's woNderful! Good job And glad max likes it!

7:51 PM  
Blogger Sheryl said...

Wow - it turned out great! Your binding really frames it perfectly. I love everything about it and I thank you for allowing me to quilt it!!

1:01 PM  

Post a Comment

<< Home